Of course, once she stopped setting, the whole project got pushed to the back burner until earlier this week when I started to notice one of the nest boxes in the coop always had a Barred Rock hen in it. Unfortunately with 14 BR hens, it is hard to tell them apart so I just had to keep checking the nest boxes at odd hours to see if there was still a hen on the nest. After a couple days of one nest box always being occupied I felt sure we had a hen that wanted to hatch. On Wednesday I started working on a one-chicken-sized coop for the brooder pen.
What started out as
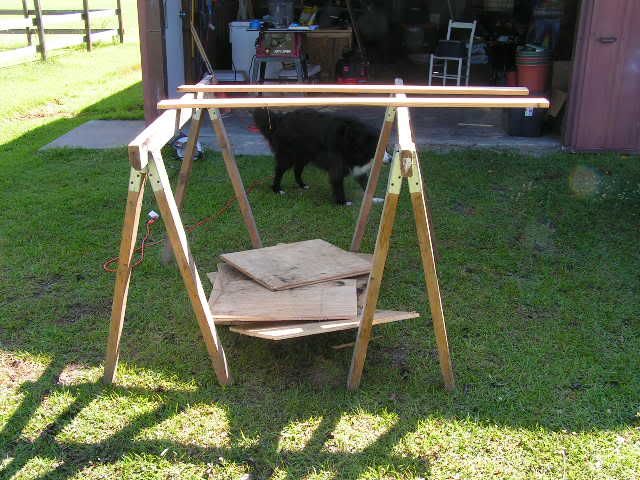
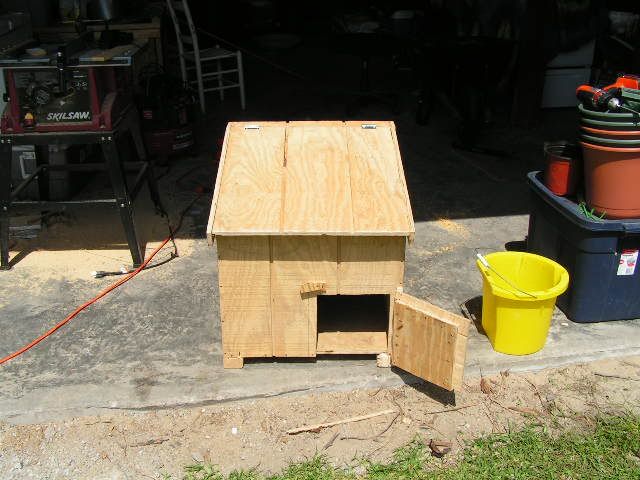
ended up as
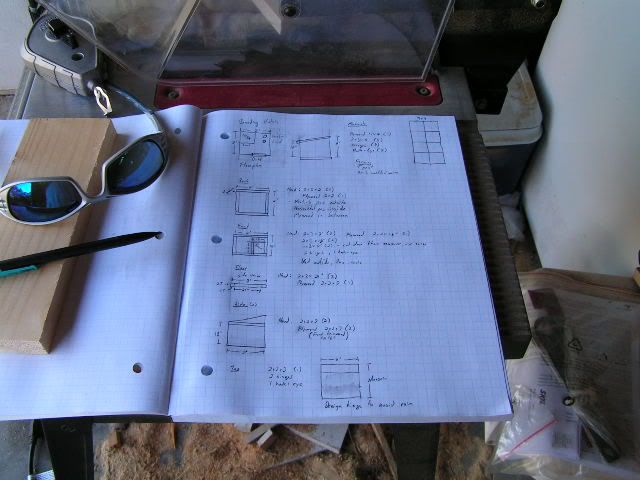
The plans I had made used 1/4 inch plywood siding supported by 2x3s but we had a sheet of 1/2 inch plywood siding left by previous occupants of the house. The good news is that it was thick enough to not require extra support so I could save my 2x3s for another project and was free. The bad news was that the sheet was only 45 inches wide, not 48, so it required a couple of adjustments on the fly. That's the fun of woodworking.
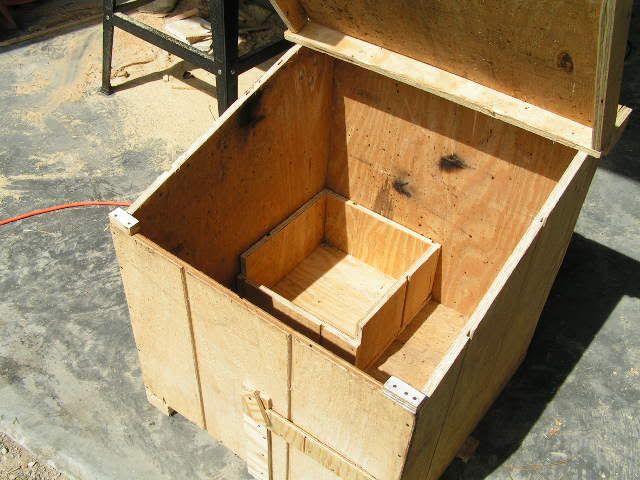
The dimensions of the coop are roughly 22 inches long and wide, and 24 inches high in the back, 18 inches in the front. That leaves just enough room for an open nest box and a feeder. I will the chicken's water out side the coop to keep things dry. Below is a picture of the coop in progress.
I hinged the roof just under 3 inches from the back edge and will use shingle scraps to cover it over the gap to stop leaks. In retrospect it would have been better to just hinge at the back and just pick up the whole roof for access to the coop. That would solve the problem of having a gap in the roof. I still plan to build a chicken tractor and will use what I learned in this project to design the tractor.
The next step is to put up the fencing for the small seclusion pen. I will post more pics once everything is complete. So far I have saved 9 easter-egger eggs, and 3 BR eggs. I don't plan to collect any more, I will let her set on those plus whatever she currently has under her in the main coop. I expect that she is only setting on a couple eggs.
What started out as


ended up as


The plans I had made used 1/4 inch plywood siding supported by 2x3s but we had a sheet of 1/2 inch plywood siding left by previous occupants of the house. The good news is that it was thick enough to not require extra support so I could save my 2x3s for another project and was free. The bad news was that the sheet was only 45 inches wide, not 48, so it required a couple of adjustments on the fly. That's the fun of woodworking.
The dimensions of the coop are roughly 22 inches long and wide, and 24 inches high in the back, 18 inches in the front. That leaves just enough room for an open nest box and a feeder. I will the chicken's water out side the coop to keep things dry. Below is a picture of the coop in progress.
I hinged the roof just under 3 inches from the back edge and will use shingle scraps to cover it over the gap to stop leaks. In retrospect it would have been better to just hinge at the back and just pick up the whole roof for access to the coop. That would solve the problem of having a gap in the roof. I still plan to build a chicken tractor and will use what I learned in this project to design the tractor.
The next step is to put up the fencing for the small seclusion pen. I will post more pics once everything is complete. So far I have saved 9 easter-egger eggs, and 3 BR eggs. I don't plan to collect any more, I will let her set on those plus whatever she currently has under her in the main coop. I expect that she is only setting on a couple eggs.
From what we have read, the blue egg gene is dominant so any green eggs we can get to hatch as hens should lay green eggs. I am interested to see how the barred rock genes present themselves in the new chicks. The easter-eggers are already a mutt breed, so there is really no telling what the offspring will look like. I hope at least the rooster are a little larger than our current green egg layers since they are noticeable smaller than most of the barred rock hens.
Letting the hen set is really just a learning experience, it is something we haven't done before. There is always something new happening on our little mini-farm.
We've got our first broody hen, and I don't know what to do with her.
ReplyDeleteWe put ours in a pen by herself once we'd collected a dozen or so eggs and let her sit on them. I'm not sure what you would do if you didn't want to hatch any chicks.
ReplyDeleteIf you don't want her to hatch any eggs, you will just have to give her some time. If you keep collecting the eggs that she is trying to set on, she will eventually give up. It may take a couple weeks depending on how stubborn the hen is.
ReplyDelete