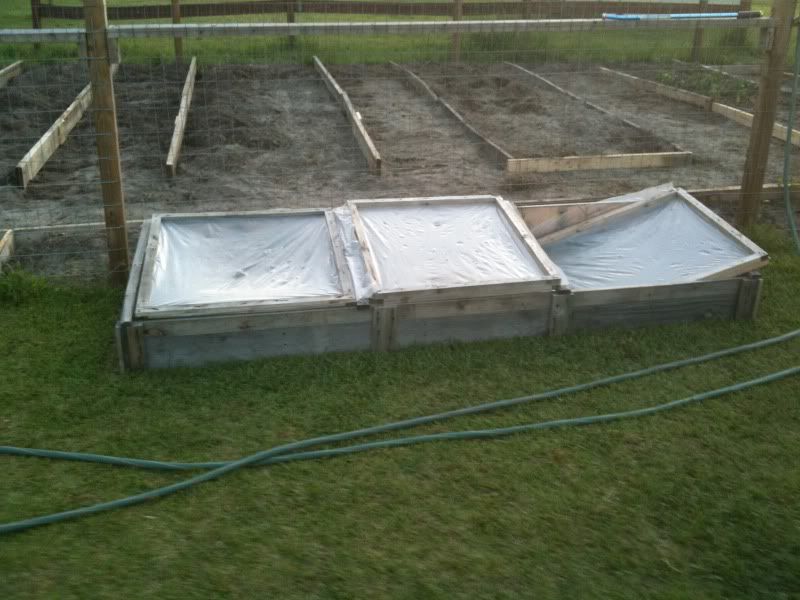
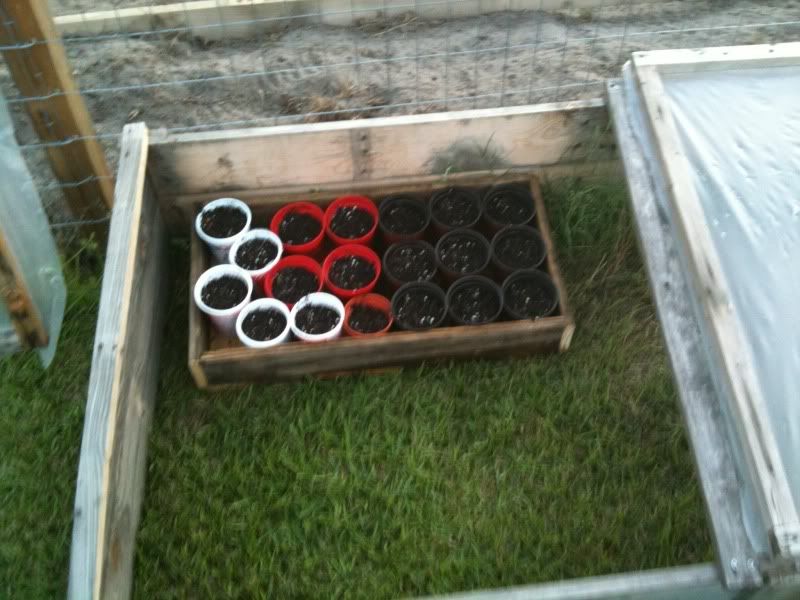
So this weekend was a magic time, the first bit of gardening for the year. I don't know what possessed me but somehow on Saturday I pulled myself away from the computer and ventured outside for some good old fashioned yard work. The plan was to break through the thick layer of grass covering my smallest raised bed to get it ready for a cool crop planting experiment. For a bit of background, being a gardening novice I am not sure when certain plants will sprout and grow, and whether it is based of length of sunlight exposure or ground temperature. Being the info-addict nerd I am, I have done research on the net with conflicting results. For some reason it suddenly occurred to me that hell, I can plant some seeds and see what happens. So the plan is take the 4x4 bed, abandon the strict 16 cell configuration demanded by the square-foot-garden mantra and plant in wide rows. I want to try turnips first, they are supposed to be almost impossible to not grow (a theory I will most certainly test), then also swiss chard, spinach, corn salad, and an early lettuce mix. If my mom was reading this she would have passed out before believing I would eat that many greens. (Please note, I was able to completely avoid suggesting we plant any of the dreaded collards.) I hope to get the seeds in the earth this Sunday since we are planning a trip to Boone to see the flurries they are calling for on Saturday. I will also throw together a hoop house using 8ft pvc piping, heavy plastic, and the ever holy duct tape. (Seriously, I have mulled it over, how do you attach the plastic to the piping without the tape?) I just have to hope I can both figure out a way to secure it against the terrible winds we have at home, and that it survives said blow. So that is the plan, now for the action.
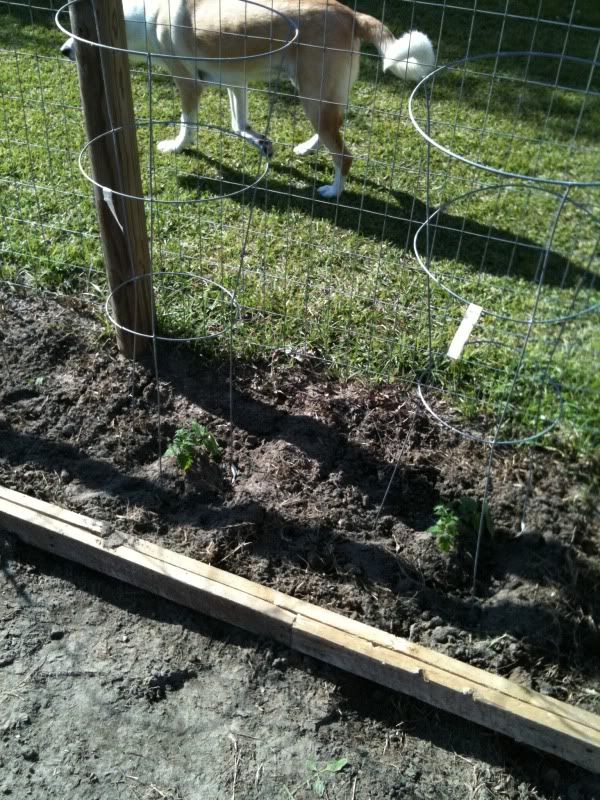
As I said, the grass had completely covered over all my beds in a nice thick mat that centipede is so well known for. If only it would grow that well in the front yard. I had made the beds early last spring, but had never put them to use due to a nasty combination of lack of 'follow-through-ness' and the beginnings of the hellish drought we are currently under. So out I drag my trusty weedeater, or is it trusty at all. The thing refuses to start, mostly because of the solidified fuel in the lines. Being the lazy yet stubborn person that makes me who I am, the fact that is won't start doesn't stop me from continually pressing the little valve on the side in a vain hope that following the starting directions will work this time even if it hadn't the 20 times before. After finally reaching my limit, I go primitive and grab the shovel and rake. Now as anyone that has dealt with centipede is aware it may have been easier to get a garden rake to pierce concrete than put a dent in the hefty weave that had invaded my precious garden plot.
This sends me right back to the weedeater in hopes that I can cut the dead grass back then chew through its' defenses with the tilling attachment for said weedeater. So more fiddling, cursing, pulling on the start chain, and finally the most fun part of any mechanical endeavor, disassemble. Once I start seeing what pieces I can remove without the use of tools, I notice there is a bubble in the gas line where there used to be a solid chunk of fuel. That was a most promising sight, and after adjusting the choke that I didn't know was there, the beast finally starts. Now here is a conundrum. I am excited because I will soon be playing in the lush dirt of my garden, but I am also saddened because the first task is a most hated one, the cutting of the grass. I hate cutting grass, as the overlong dead grass in my lawn will prove. Sometimes I feel as though most summers of my youth was spent cutting someone's yard, and the more I consider the amount of time I have wasted riding a mower around in circles the less I want to continue. So there we are, the second of February and I am cutting grass, oh the humanity of it all. Not only do I trim the grass back on the small bed, but continue to trim around all the beds and move on to the base of the bird feeder. I get a nice reward of actual green plants which can now be seen since the dead grass towering overing has been obliterated.
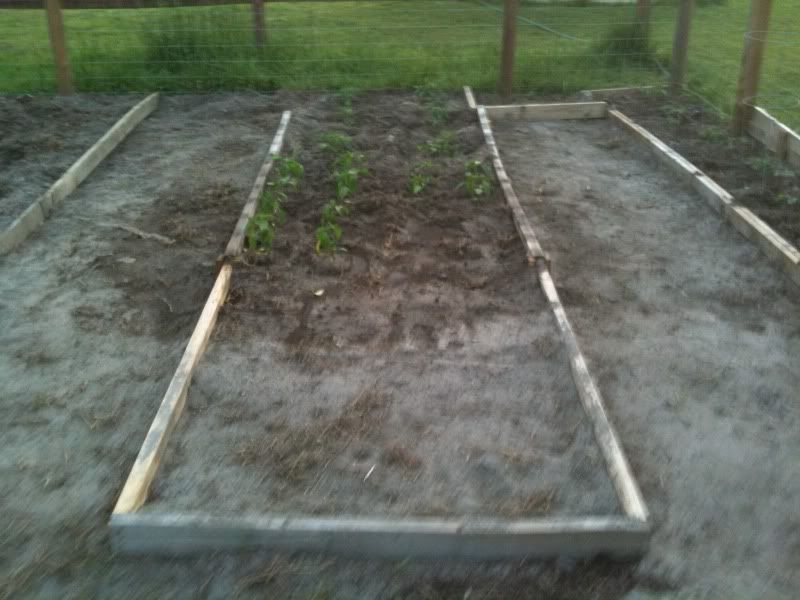
Finally, I get to do what I first set out to do which is work on the garden bed. I must admit, the Mel Mix from the SFG guy is a very nice soil mix, being equal parts compost, peat moss, and vermiculite. Despite sitting for months and months unloved by the human hand it is still light, and even moist which is a rarity given the current climate. As I dig through it pulling foot long roots out, the soil is cold yet has a lush feel and smell. I move on to the next bed in the row, which is a strong contrast. I did not stick to the Mel Mix for my 3 4x8 beds, mostly from the trouble of finding coarse vermiculite. I was lucky to find a 4 cu ft bag at the Hudson's Hardware in Garner, but they only had the one bag, and they were the only ones to carry it. The vast majority of that bag was used in the 4x4 leaving very little for the other beds. Lowes did carry it in smaller bags, but at triple the cost. So after doing pricing checks the cheapest way to go was a half and half mix of top soil and turkey compost supplied by the pick-up truck load at a local landscaping company. I did add in some peat moss here and there, but from tilling in this second bed, I did not use enough which is not a surprise since I was really just adding in the last of what I had on hand. The difference between the two really drove the point home in regards to the superior texture of the Mel Mix The dirt is more like normal soil and less like the dense potting soil consistency of the Mel Mix. However, we must remember, texture is not the most important aspect of garden soil, the ability to produce is key. Regardless, I am still quite happy to sit and dig through the dirt tool-lessly, removing clumps of grass roots and other weeds. I am not sure how to explain it but the act of nurturing and caring for a garden is extremely therapeutic. Even at this early stage I found it tiring, yet relaxing at the same time. It was a small taste of what was to come, and it got me revved up for the upcoming season.
Left on the to do list:
- Plant the cool weather crops in hope they sprout.
- Make a hoop house for the 4x4 bed.
- Do a second till on the first 4x8 bed, and an initial till on the other three.
I am considering adding a combination of some or all the following ingredients:
our own compost
leaves from the in-laws' yard
peat moss
vermiculite
As usual, what I actual add in will be decided during the heat of the moment.
- Start a true garden journal.
Hopefully this go around I will have some early success and can follow through on my plans. Given the beds I have available, I should be able to produce an excess of food that would allow us to start canning and freezing home grown food. I also hope to expand on what I have by trying some container garden, both in pots on the porch to take advantage of the shade and wind protection there, and also through trying the trash can method of growing potatoes. This should prove an eventful and educational spring and summer.