Tuesday, July 21, 2009

Chick Pictures

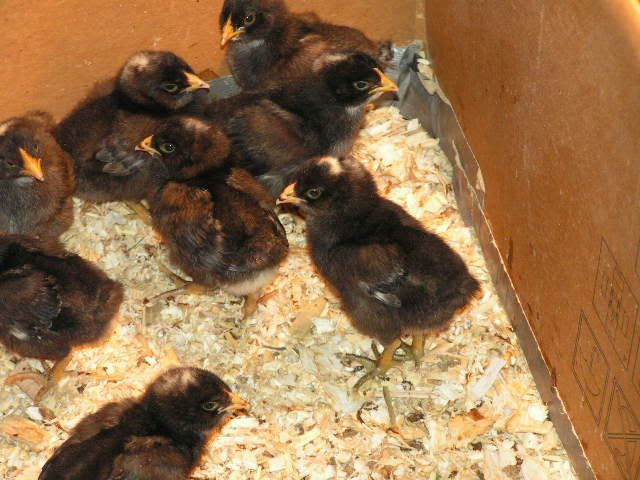
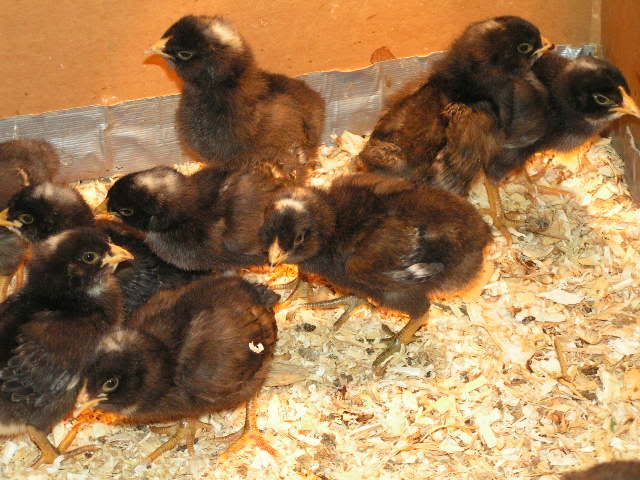
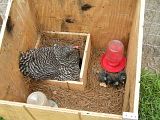
The chicks are now 2 weeks old. They grow really fast and don't stay in the cute fluffy chick stage for long.

The chicks are scared because I took the top off their box to change their water.

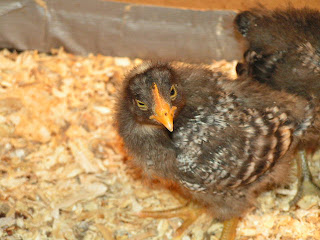
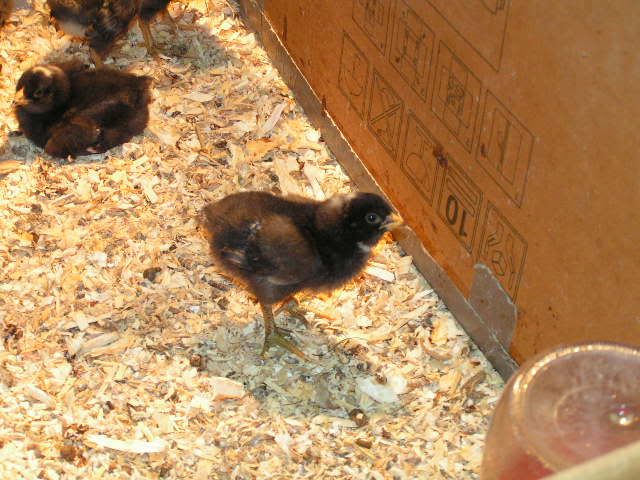
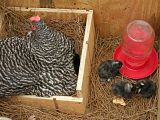
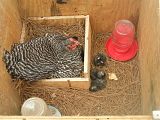
You can really see the feathers starting to come in on the chicks. The one in the front has a comb growing in and starting to turn red. I think this one may be a roo but time will tell.

The "roo" playing it up for the camera.


-Krystal

Tuesday, July 14, 2009

Garden and Chicken Pictures


Photobucket
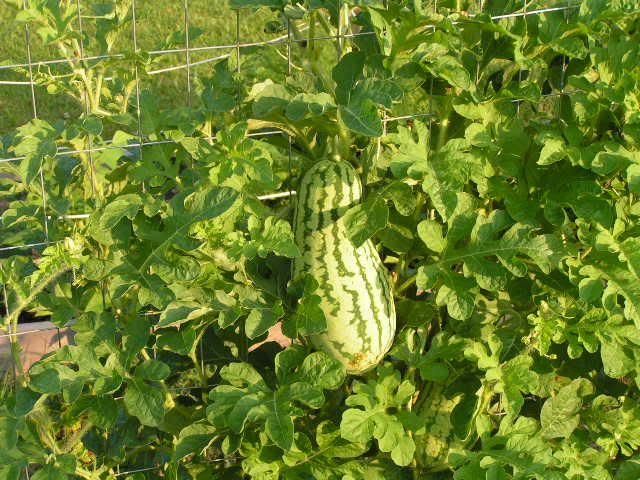
Watermelon growing on a trellis

Photobucket
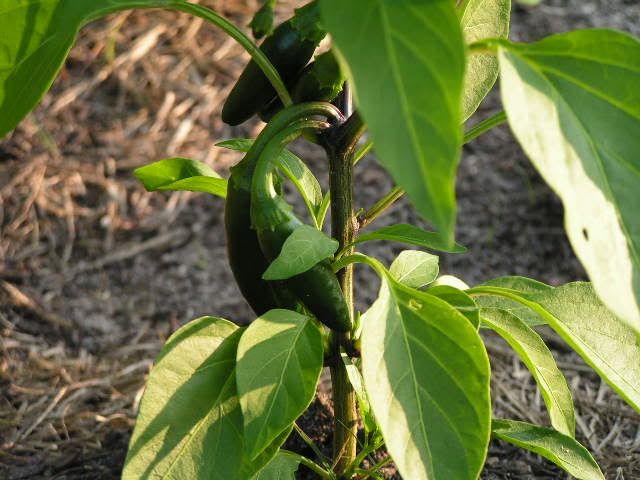
JalapeƱos!

Photobucket
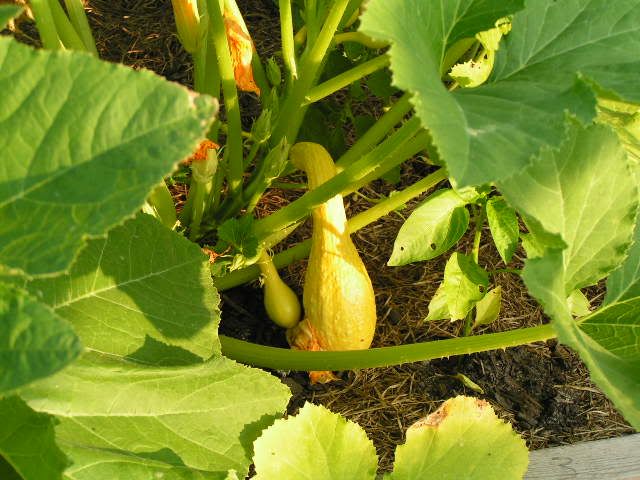
Yellow Squash

Photobucket
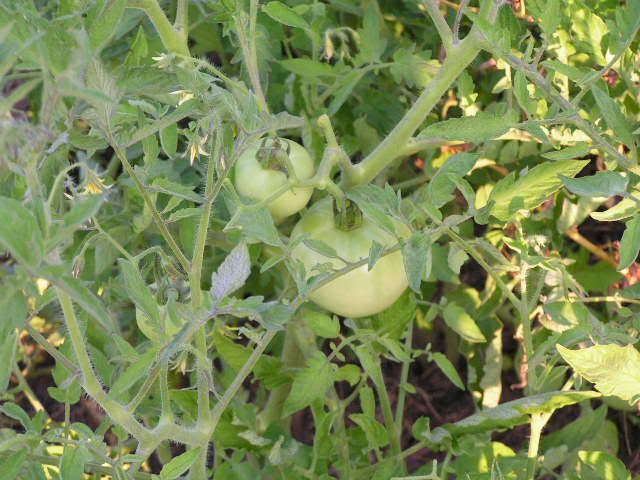
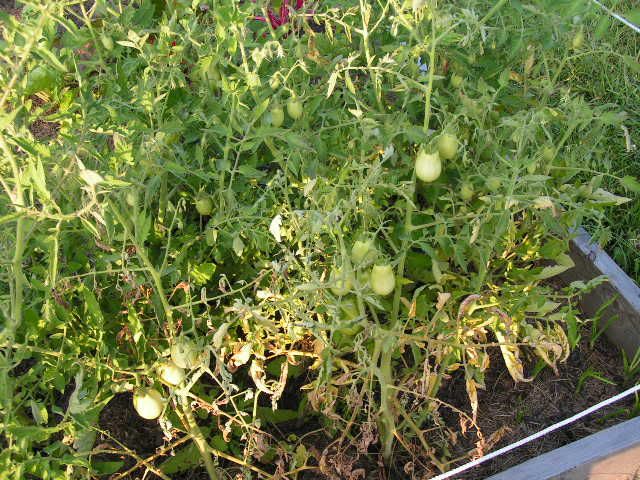
Tomatoes

Photobucket
Something is going on with our tomato plants and they seem to be dying.

Photobucket
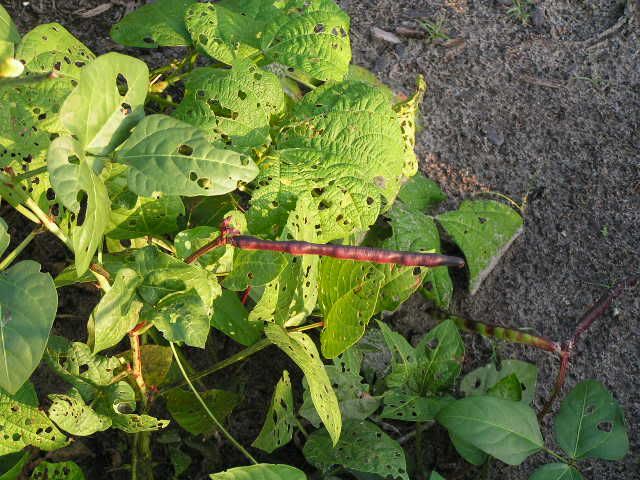
Purple-hull Peas

Photobucket
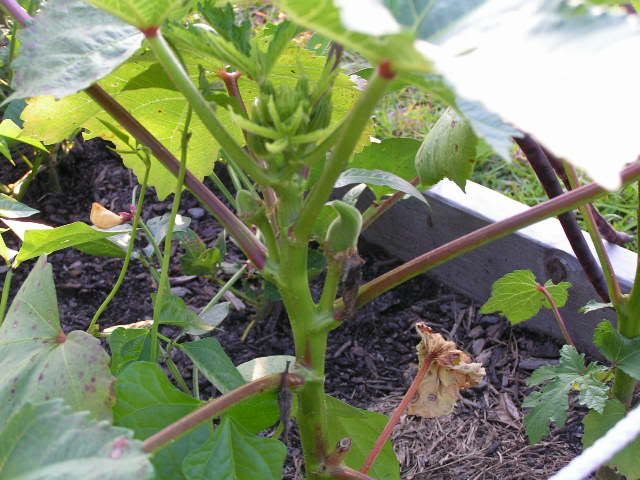
Okra

Photobucket
The chicks are one week old today (well, five of them today and five yesterday)

Photobucket
We're starting to see a lot of wing and tailfeathers growing in, now.

Photobucket
Chicks

-Krystal
4yj3xawhdt

Thursday, July 9, 2009

Sprouts

Not only do we garden outside, we do a bit inside. Our main inside garden is a tasty little gem called sprouts. We grow a variety, mung bean, alfalfa, radish, adzuki bean, lentils, clover, and some others I can't remember at the moment.

Growing sprouts is very easy. We use the jar method most of the time. The equipment is minimal. You need a wide mouth quart jar, a screen lid, some seeds or beans, a place to drain the jar, and a towel to cover it.
Photobucket

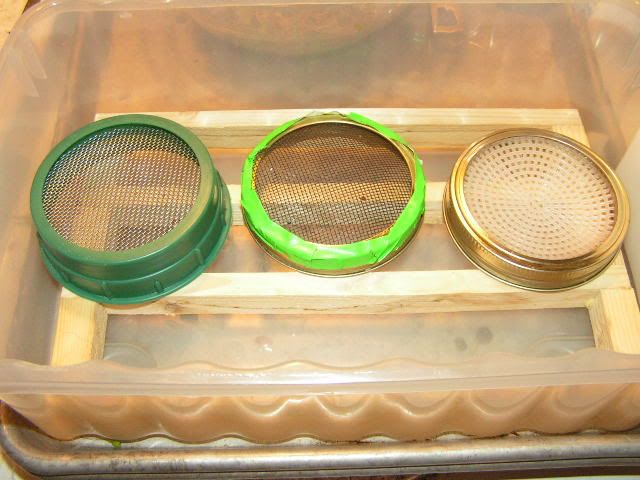
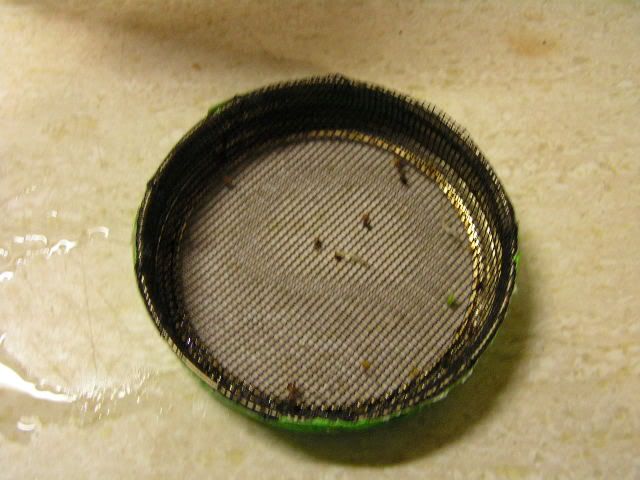
These are three different kinds of lids we currently use.

I strongly suggest buying a metal screen lid which is the first in the pic, we got ours from the local health food store for only $1.99. I plan to buy more and switch to using those exclusively.
Photobucket

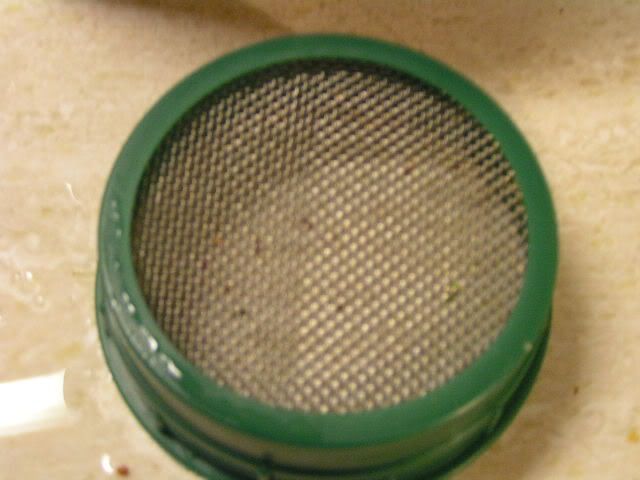
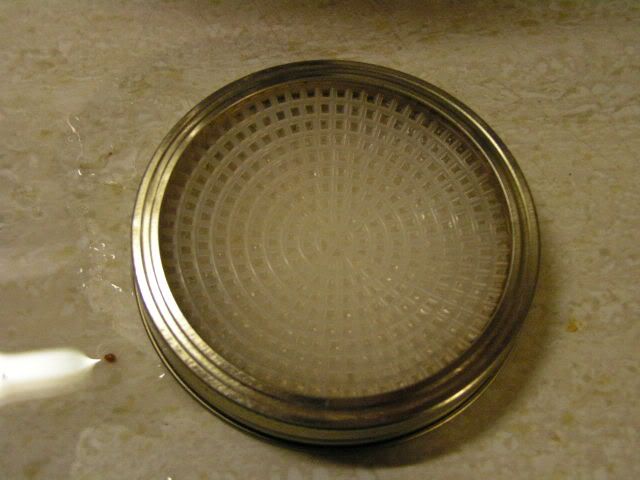
I don't suggest the all plastic lid unless you have no other alternative. I have never used them but I think you are better off with making your own from screen fabric and duct tape. The all plastic ones look like they may limit the air flow a bit much and are very expensive.
Photobucket

Photobucket

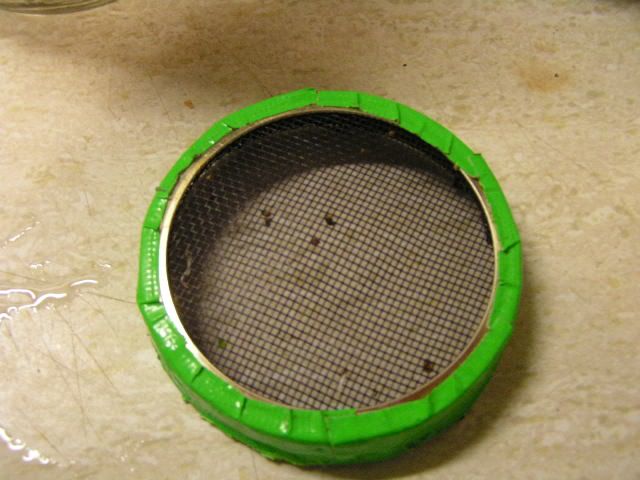
If you can't find the a metal screen lid locally, you can make your own. I have yet to find any online for a reasonable price. To make your own, just get some window screen fabric (from a hardware store like Lowes) and cut squares that are about 3/4 inch larger than the ring lid on each side. Center the screen over the top of the jar and screw the top down slowly. The screen will make it a little difficult to screw on the lid but don't force it too much or you will cut the screen. Once the lid is on securely, tape the excess that sticks out around the edge up on the ring lid. Don't be stingy with the tape, it has to support a jar full of wet sprouts when you turn it upside down to drain it. I suggest using duct tape since the lid will be in water often. The green duct tape is something that Krystal bought for another project and I used it because I was too lazy to run out to the workshop and get the proper grey kind.

An alternative but less secure method is to take the lid from the wide mouthed jar and cut the screen just a bit larger than the lid. Place the screen on the inside of the ring and screw it down. I tried taping a piece of screen to the top but the water draining out of the jar weakened the tape and the screen popped off, spilling the bean sprouts into the sink when I went to rinse them.

I prefer the first method because the screen is supported by the lid when screwed on and by the tape when it is not. With the second method, the screen falls out when you unscrew the top. I have only used the second method once and cannot guarantee that the screen won't pop out from the weight of the wet sprouts like when I just had it taped to the top.

The drawback of the window screen is the mesh in what we used was bigger than some of the smaller seeds such as alfalfa and broccoli. If you can find some tight metal screen that would be better. The only way we could find some quality fine mesh metal screen was in an expensive sieve so it just wasn't practical. The ones we got from the health food store work much better.
Photobucket

An alternative I found on the web suggested using plastic available in the craft section of Walmart. It works, but I am not very happy with the results and leave it as a last resort. There is thin plastic filling most of the holes. I usually have to take the top off to fill the jar with water when I go to rinse it, and once again, it limits the airflow to the sprouts. I took a toothpick and tried to poke through most of the holes but grew quickly bored and only noticed a slight difference when draining. I even tried to heat plastic enough to melt the stuff covering the cells but I mostly just burnt all of it. I rank this about equal to the plastic ones from Handy Pantry only because the homemade ones most likely don't work as well but are a lot cheaper.

Now to the actual instructions.
Photobucket

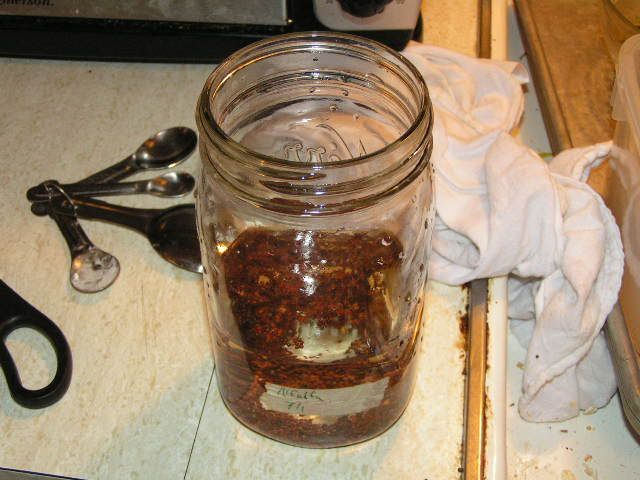
First start with some seeds or beans. We buy our beans locally, and order the greens' seeds from Handy Pantry. Usually only a tablespoon or two of seeds will fill a quart jar. Fill the jar with 4 parts water for each part of seeds and let them soak for about 8 hours.
Photobucket

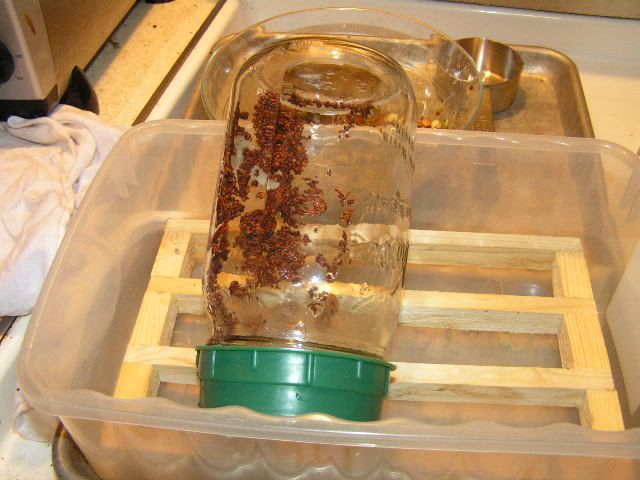
After soaking, drain the water from the seeds and give them another rinse. Spread the seeds as much as possible along the side of the jar and invert it to allow the excess water to drain. I use a plastic bin with a wooden grate I made. A cereal bowl or dish drain works well also.
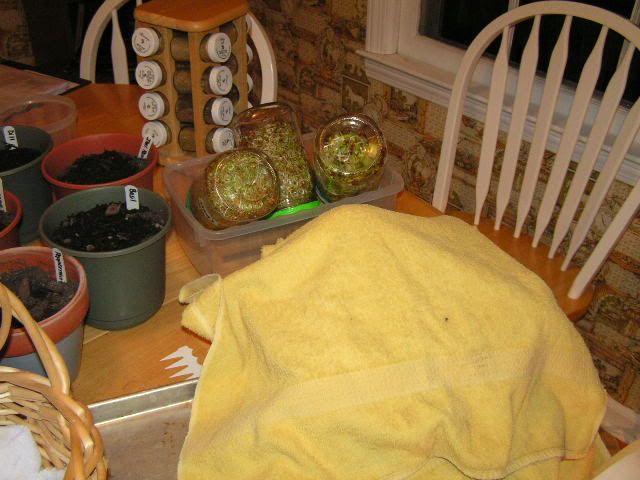
Photobucket

Cover the jar with a towel or keep it in dark in some other manner. After a couple days, allow the green sprouts access to sunlight for a few hours so that they 'green up.' You can see 3 jars doing just that in the background of the above pic.

To go a bit off-topic, we never get a chance to eat at the table because there is always some project going on there. Currently you can see our sprouts and Krystal's inside herb garden taking up the majority of the space.
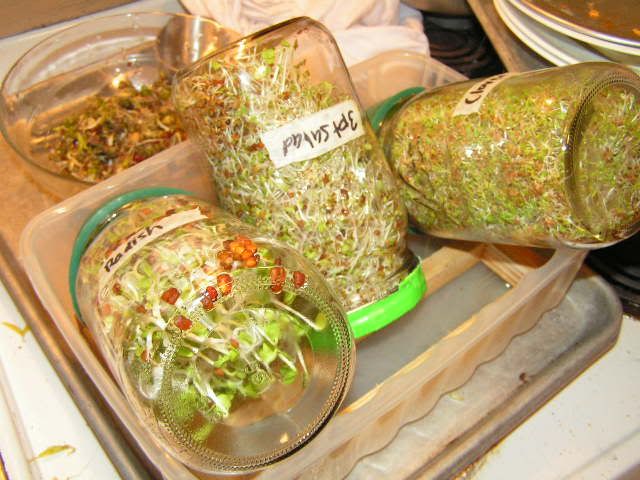
Photobucket

More green spouts enjoying the sunshine.

Bean sprouts are usually kept in the dark during the whole growing process; that is how you get those white sprouts you see in grocery stores. We usually don't set them in the sun like we do with the green sprouts but ours always end up with a few green leaves but, they taste just as good. For thicker crunchier bean spouts, place a weight on the sprouts to stress them a bit.

Rinse the seeds/sprouts until the water you are dumping out runs clear 2-3 times a day, each time inverting the jar to drain. Try to break up any clumps forming by swishing it around in the water. In just 3-5 days depending on the seeds used, you will have a wonderful jar full of nutritious, tasty sprouts.
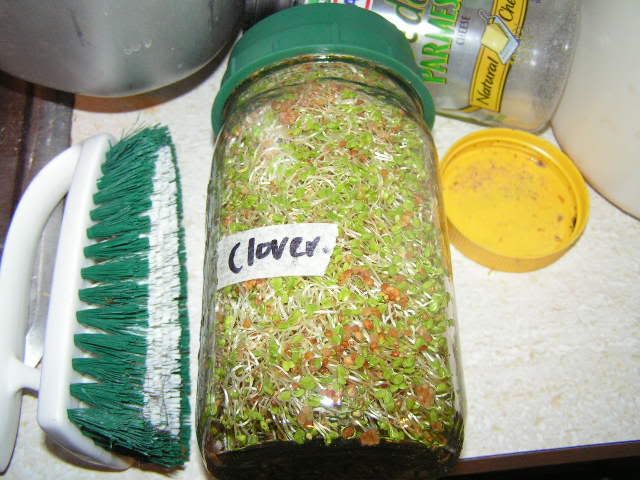
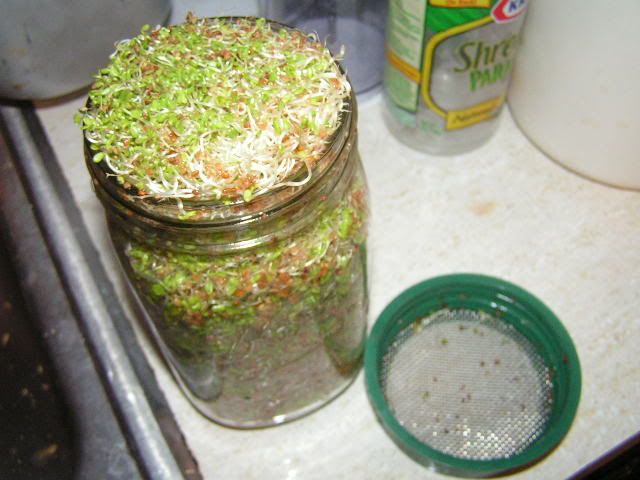
Photobucket

Photobucket

This is the results of 1 tablespoon of clover sprouts, 3 days of rinsing, and a couple hours of sunlight.

Dump the sprouts out in a large bowl of water and swish them around with your hand to break up the clumps. This shows the importance of the large mouth jar because it would be much more difficult to get the sprouts that have filled the jar out of a narrower opening.

Now for the worst part, dehulling. I am not sure why we need to dehull but it has always been suggested. One reason to dehull was that the seed hull holds a lot of moisture and shortens the shelf life. I do it because I don't think they look very appertizing and the chickens love them. Once the clumps have been broken most of the hulls will either float to the top or sink to the bottom. I use a slotted spoon to skim the hulls floating on the top. When scooping the sprouts out of the water, I am careful to not scrape the bottom of the bowl and disturb the hulls on the bottom. The good thing about alfalfa is that the hulls are so small that they flow right through my colander which makes it easy.

For storage, if I plan to use them soon, I place a paper towel in the bottom of a plastic container. Otherwise, I omit the towel. The paper towel helps draw the moisture away from the sprout to stop molding. If you plan to keep the sprouts more than a couple days, it is better to just rinse and drain them every day or so to keep them fresh. Obviously having a paper towel on the bottom when you try to rinse them would not be a good idea. You can even leave them in the sun for a couple hours to freshen them up if they start looking a little unappetizing.

This is an inexpensive and easy way to grow your own nutritious food all year long.

-Matthew

Tuesday, July 7, 2009

The adventures of a sick chicken

About three weeks ago, shortly after I posted about how healthy all the chickens were, I found a hen all but dead on the coop floor when I went out to water them. We were going out of town that day so I really didn't have much time to do anything with her. Just as damage control, I put her in the big brooder pen I have in the workshop. If she had something contagious, I didn't want to give her more time to infect the rest of the flock. I also didn't want the other chickens picking on her in her weakened state. She looked so bad, I probably would have put her out of her misery had we not been traveling that day.

When we got back that night, she looked a little better, which was encouraging so, we left her alone in the brooder for a while seeing if she would continue to get better. In time, she slowly improved. It is amazing how healing intense rest can be. I began taking her out each morning and putting her in a temporary pen during the day to let her get some fresh air, sun, and grass. At night we would put her back in the brooder for protection. I was hoping she would put on some weight since she was amazingly thin when we moved her out of the normal chicken run.

After a couple weeks of that routine she was strong enough to go back in with the other chickens...or so I thought. As soon as I put her back in the big pen, she was immediately attacked by the alpha hen and her cronies. They were vicious, the lead hen, Henrietta (no, not a very original name), would grab her by her comb and drag her all around the pen. The other hens picked on her so bad that she couldn't move, she would just go and stick her head out of the pen so that the hens couldn't peck at it. I thought that was quite dangerous because I could imagine some neighborhood dog (or other critter) coming by and chomping off this head sticking about 3 inches out of the fence so, I grabbed her and put her back in the brooder until I could figure out a next step.

I searched on the 'net for information regarding reintroducing a hen to a flock and, from the plethora of available advice, it seemed to be a common problem. The simplest solution was to remove the alpha hen, Henrietta, and put the sick hen back with the flock. There was a bit of tussling once we did that from the other hens close to the top of the pecking order but no where near as violent a beating as the sick hen was getting before. After a bit of pecking and the reintroduced hen running away, everything seemed to have been worked out.

I was putting Henrietta in the big brooder box during the night and in the temporary pen during the day. The only problem was that she was flying out of the five foot fencing of the temporary pen and trying to get back in the chicken run. I left her in the brooder box for a couple days since I wasn't ready to put her back with the other chickens.

Her attacks on the sick chicken wasn't the only reason I wanted to separate her. Why she has a name when the other hens do not is that she is easily identifiable by her huge comb, as big as the roosters. I was reading Storey's Guide to Raising Ducks by Dave Holderrad and he mentioned that large female ducks that showed some drake characteristics were usually androgynous. I began to wonder if that was the case with her and I was wasting food on a non-laying hen. She never laid in the brooder box, but I could chalk that up to a combination of stress and lack of light. The sick chick never laid an egg either, but they typically do not when sick.

Yesterday, we moved the mother hen back in with the rest of the flock and moved Henrietta to the small pen she was in. Henrietta has a week to lay an egg or else I think she will have to go to freezer camp.

Interestingly enough there was a bit of fighting when we put the mother hen back in with the flock but she did a good job of standing up for herself. Once again things seemed to have been smoothed over.

Speaking of naming chickens, I finally gave the sick hen a name, Penny. I was calling her henny, but changed it to Penny because of already having a Henrietta. I had dealt with her so much I can recognize her comb, but it also helps that when I go in the run she is constantly underfoot trying to get me to pick her up. She is the only chicken that lets me pick her up.

I intially gave the name of Big Mama to Henrietta, but Krystal vetoed it and went with Henrietta. Our roosters have also been named, as has been shown in pictures in a
previous post. The white rooster is named Butthead since he likes to attack people. The darker rooster is named Beavis to go along with Butthead.

I am planning to replace Butthead in the near future. I am thinking about getting a different breed in hopes of having a bit of hybrid vigor in the offspring since we plan to continue hatching eggs from our own flock for meat birds. Right now I can't decide between getting a Buff Orpington, Cuckoo Maran, or a Colored Broiler from JM Hatchery. I would like to find a mature but young BO or Maran rooster so I don't have to wait for a chick to mature before I replaced Butthead. The Colored Broiler is a possibility because I would like to order a batch from JM to see how growth rate and feed conversion compare to our BR chickens. The problem is that I would prefer to order just 25, but that makes them $2.00 a piece. There are price drops when you order 50+ or 100+. It breaks down to where 25 chicks is $60, but for $30 I can double my order, and for another $30 I can get 100 chicks! That is a pretty good deal, but I would able but pressed to find room for 50 chicks, but no way have room for 100. So if someone in the Jacksonville area wants 50 colored broilers I would love to split an order. >.>

Since I really don't have any pictures to go along with the post, here are some random doggy/chick pics.

Photobucket

The laziest border collie in the world.

Photobucket

Another chick pic, notice the addition of shavings.

Photobucket

Brogan watching the chicks...again.

Photobucket

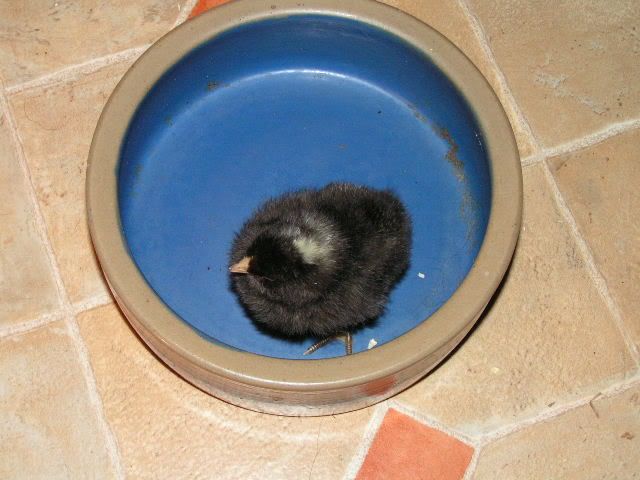
One of the chicks in Brogan's bowl.

Photobucket

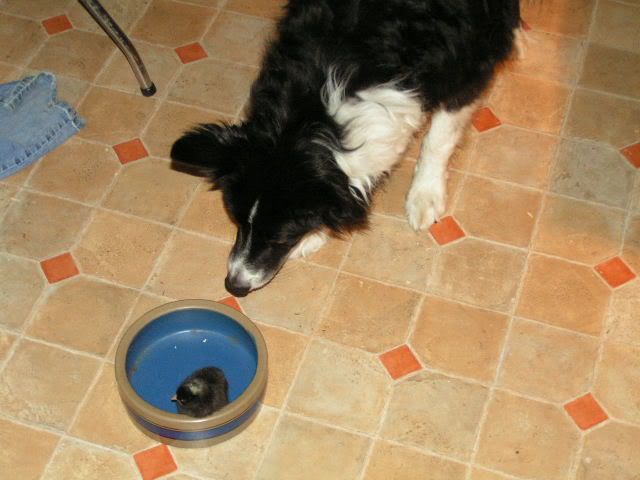
Brogan seeing how close he can get to the chick before he gets yelled at.

-Matthew


Chick update

We had another 5 chicks hatch on Monday, bringing the total to 11. Unfortunately, we had one not make it, which is sad but also something you have to expect.

As for bedding in the brooder, I had a lot of conflicting information. One book said newspaper for the first few days. Another book said to never use newspaper because it is too slippery and causes splayed legs. That book suggested wire. Another book said never use wire and offered a number of suggesting, saying they used fine pine shavings (Never cedar shavings since they can be poisonous). Of course one of the other books said to never use shavings because the chicks can eat it and get stopped up. All very confusing.


Since I am a pessimist, I didn't think the eggs would hatch. It seemed to me she wasn't moving them around very much. I also didn't want to believe anything would be as simple as grabbing eggs, shoving them under a broody hen, and waiting 21 days. I was therefore unprepared when Krystal went out and checked on the hen on Sunday and yelled across the yard, "We have chicks!" I first filled the brooder box with wheat straw since that is what I had on hand. It was not a good choice, but I didn't have many other alternatives. The only wood shavings we had were dumped into the big brooder box once I moved the sick chicken into it (more on the sick chicken tomorrow), so it wouldn't really be a good idea to scrape 'em back out of there to use for the chicks. The Sunday bunch seemed to move about fine in the straw, but there were two from Monday that were too weak to stand up very well. One actually kept flipping over on its back and having trouble getting back upright. So the straw had to go.

We had some newspapers that we got from Krystal's grandmother to cover the table while I was lettering the egg sign.

We still had a bit left over, so I layered the bottom of the box a couple sheets thick of newspaper and covered that with two layers of paper towel. The newspaper is to absorb the mess, the paper towel is to give them traction. I just add paper towels once the ones in the brooder get too messy.

I plan to switch to shavings in a couple days, or maybe I will just chop the straw up and save myself a trip out. I am going to switch because they seem pretty bored on the paper towel. The can't scratch in it, and they ones that could handle it seemed to have more fun climbing over and in the straw. Also with the paper towels the droppings show up so I have a problem with the chicks pecking at them. I assume one of the chickens that had trouble walking is the one that passed away. The other, the one that kept flipping over, is getting around much better now that it has the stable surface of the papertowels as support. Once that chick is up and running around I will switch out the newspaper and papertowels for something more interesting.

Now to change the subject, and to show that Krystal isn't the only one that knows how to cook from scratch, here is what I had for lunch today:

Pepperoni and Mushroom pizza on homemade dough

We also finished off the batch of pita she made on Sunday so I made another batch so we could have our last bit of greek leftovers tonight.


Making pita is definitely a PiTA, but hummus and pita chips are such an awesome solution to the 3pm blahs that I put myself through it. I will most likely have to make another batch tomorrow since we ate half of today's batch for dinner.

-Matthew

Sunday, July 5, 2009

Greek Night!

Tonight was Greek night for us.

A couple of days ago, I made tzatziki from some cucumbers a coworker gave me and I roasted a chicken and deboned it (I seasoned the chicken with lemon, garlic, salt, pepper and poultry seasoning and roasted it in a Crock Pot with no added liquid).

Today we made homemade pita from this recipe. With this recipe, I noted that if I didn't poke it with a fork, as indicated, the bread puffed up and made a pocket. Otherwise, it was just flat bread. Also, I cooked them 30 minutes until they were brown all over and not just 3 minutes per side.

We put the pita, tzatziki, chicken and some sprouts (that we grew ourselves) together to make sandwiches. Matthew also added some hummus to his.

-Krystal

Chicks!

Three weeks ago today, we put our broody hen on a nest of 11 green eggs and 3 brown eggs. Today, six of the eggs hatched (5 green and one brown). One brown egg shattered earlier this week. And, there are still 6 green and 1 brown eggs under the hen.

The six chicks all look like the little barred rock chicks we got in October.

Photobucket Photobucket Photobucket

Photobucket Photobucket

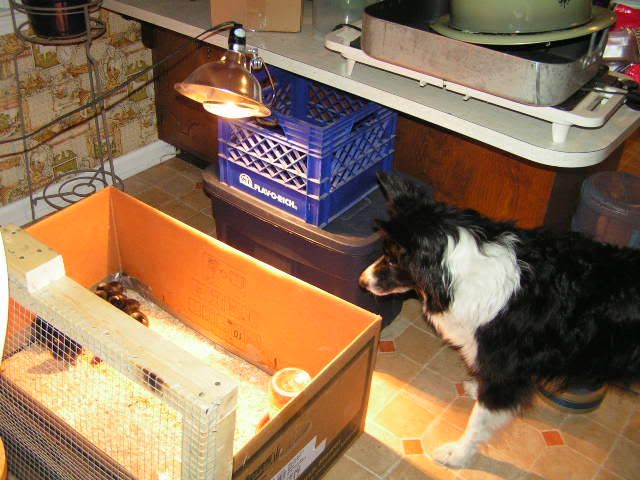
We brought them inside and set them up in the kitchen under the heat lamp where they seem to be snoozing and doing well.


Photobucket

Brogan, of course, has resumed his old post from when we had the chicks in the house before.

Photobucket

-Krystal