Not only do we garden outside, we do a bit inside. Our main inside garden is a tasty little gem called sprouts. We grow a variety, mung bean, alfalfa, radish, adzuki bean, lentils, clover, and some others I can't remember at the moment.
Growing sprouts is very easy. We use the jar method most of the time. The equipment is minimal. You need a wide mouth quart jar, a screen lid, some seeds or beans, a place to drain the jar, and a towel to cover it.
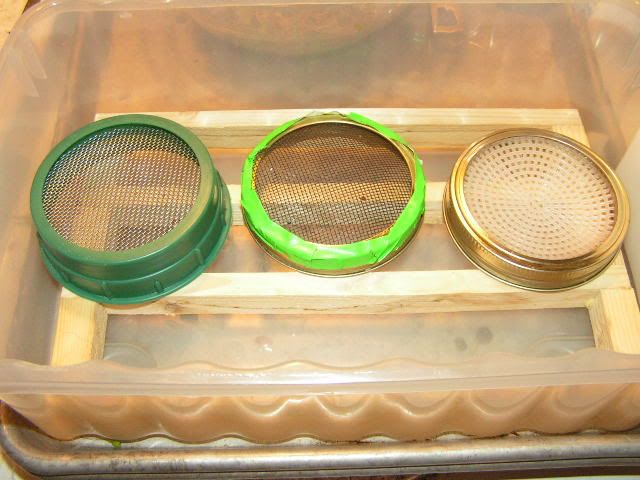
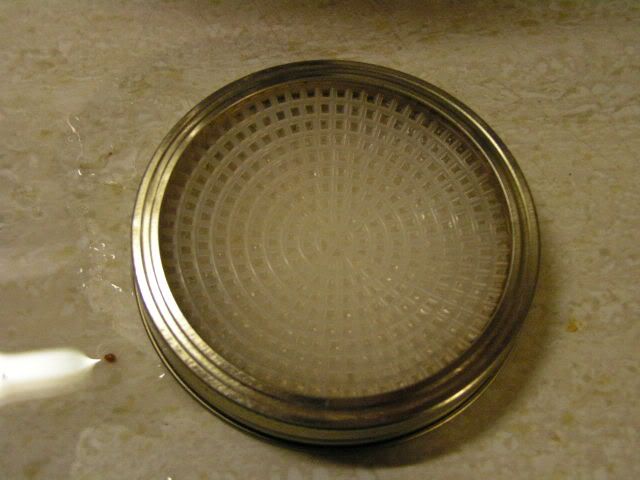
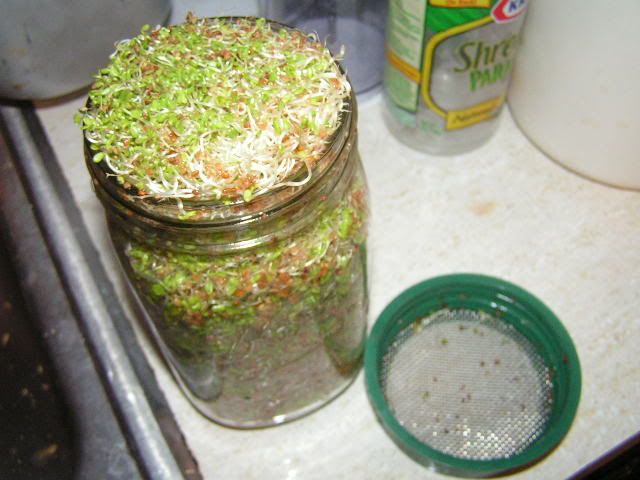
These are three different kinds of lids we currently use.
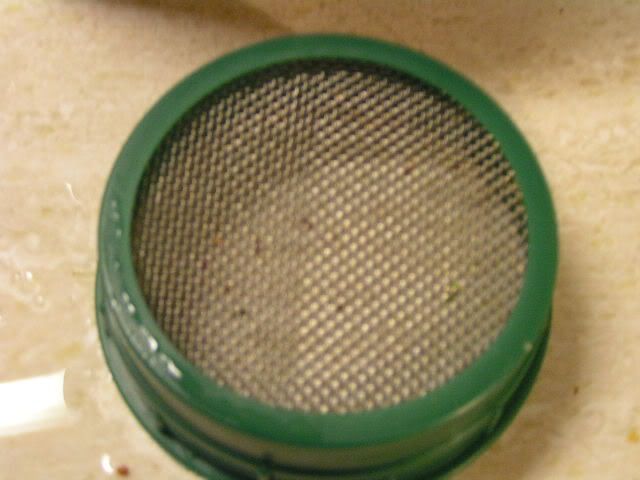
I strongly suggest buying a metal screen lid which is the first in the pic, we got ours from the local health food store for only $1.99. I plan to buy more and switch to using those exclusively.
I don't suggest the
all plastic lid unless you have no other alternative. I have never used them but I think you are better off with making your own from screen fabric and duct tape. The all plastic ones look like they may limit the air flow a bit much and are very expensive.
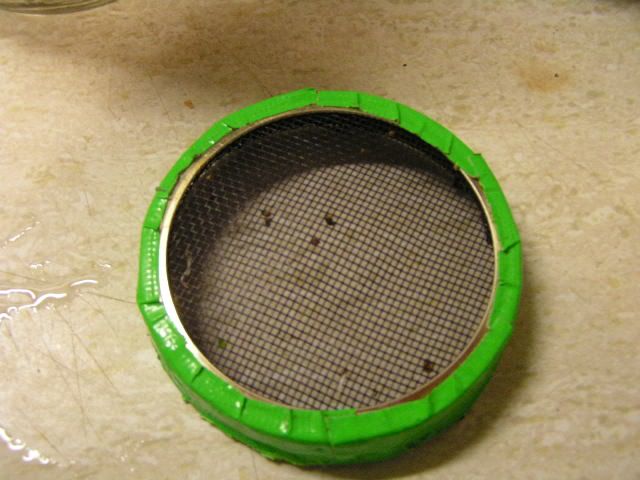
If you can't find the a metal screen lid locally, you can make your own. I have yet to find any online for a reasonable price. To make your own, just get some window screen fabric (from a hardware store like Lowes) and cut squares that are about 3/4 inch larger than the ring lid on each side. Center the screen over the top of the jar and screw the top down slowly. The screen will make it a little difficult to screw on the lid but don't force it too much or you will cut the screen. Once the lid is on securely, tape the excess that sticks out around the edge up on the ring lid. Don't be stingy with the tape, it has to support a jar full of wet sprouts when you turn it upside down to drain it. I suggest using duct tape since the lid will be in water often. The green duct tape is something that Krystal bought for
another project and I used it because I was too lazy to run out to the workshop and get the proper grey kind.
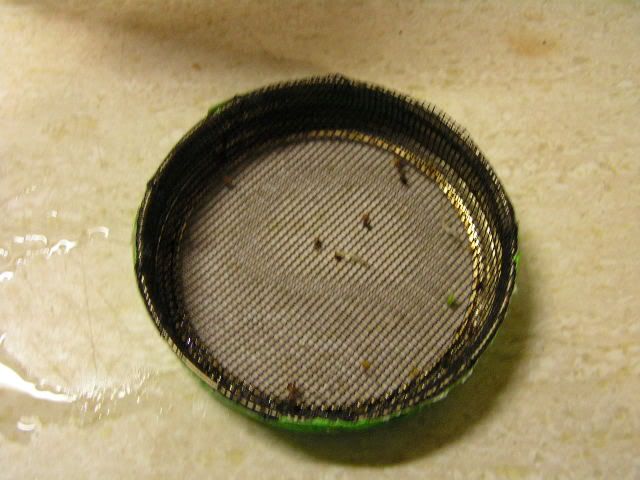
An alternative but less secure method is to take the lid from the wide mouthed jar and cut the screen just a bit larger than the lid. Place the screen on the inside of the ring and screw it down. I tried taping a piece of screen to the top but the water draining out of the jar weakened the tape and the screen popped off, spilling the bean sprouts into the sink when I went to rinse them.
I prefer the first method because the screen is supported by the lid when screwed on and by the tape when it is not. With the second method, the screen falls out when you unscrew the top. I have only used the second method once and cannot guarantee that the screen won't pop out from the weight of the wet sprouts like when I just had it taped to the top.
The drawback of the window screen is the mesh in what we used was bigger than some of the smaller seeds such as alfalfa and broccoli. If you can find some tight metal screen that would be better. The only way we could find some quality fine mesh metal screen was in an expensive sieve so it just wasn't practical. The ones we got from the health food store work much better.
An
alternative I found on the web suggested using plastic available in the craft section of Walmart. It works, but I am not very happy with the results and leave it as a last resort. There is thin plastic filling most of the holes. I usually have to take the top off to fill the jar with water when I go to rinse it, and once again, it limits the airflow to the sprouts. I took a toothpick and tried to poke through most of the holes but grew quickly bored and only noticed a slight difference when draining. I even tried to heat plastic enough to melt the stuff covering the cells but I mostly just burnt all of it. I rank this about equal to the plastic ones from
Handy Pantry only because the homemade ones most likely don't work as well but are a lot cheaper.
Now to the actual instructions.
First start with some seeds or beans. We buy our beans locally, and order the greens' seeds from
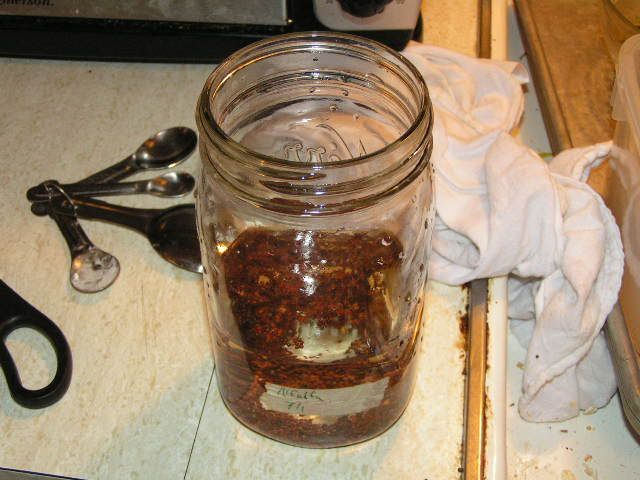
Handy Pantry. Usually only a tablespoon or two of seeds will fill a quart jar. Fill the jar with 4 parts water for each part of seeds and let them soak for about 8 hours.

After soaking, drain the water from the seeds and give them another rinse. Spread the seeds as much as possible along the side of the jar and invert it to allow the excess water to drain. I use a plastic bin with a wooden grate I made. A cereal bowl or dish drain works well also.
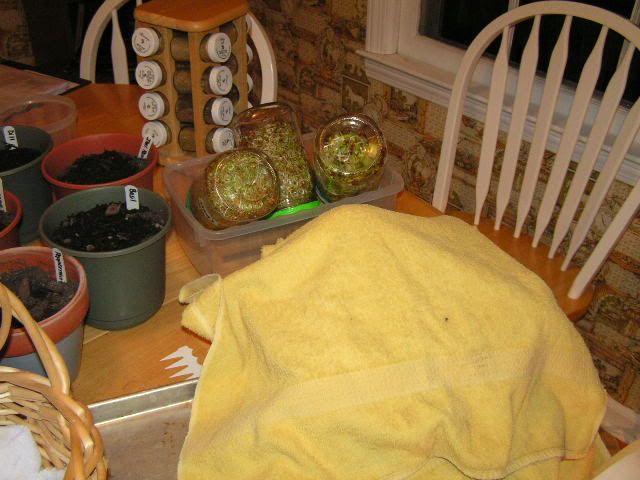
Cover the jar with a towel or keep it in dark in some other manner. After a couple days, allow the green sprouts access to sunlight for a few hours so that they 'green up.' You can see 3 jars doing just that in the background of the above pic.
To go a bit off-topic, we never get a chance to eat at the table because there is always some project going on there. Currently you can see our sprouts and Krystal's inside herb garden taking up the majority of the space.
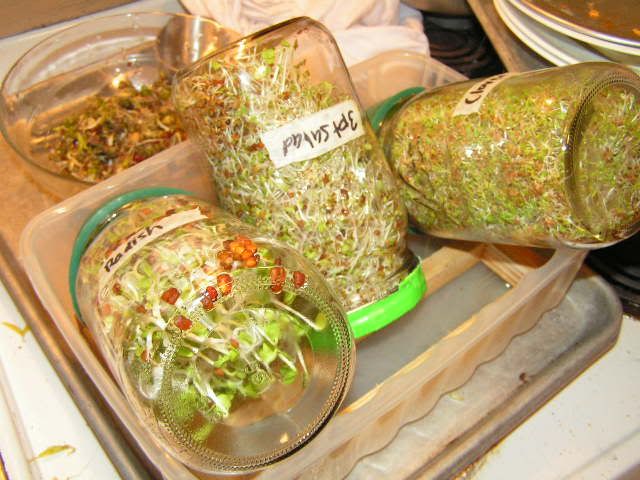
More green spouts enjoying the sunshine.
Bean sprouts are usually kept in the dark during the whole growing process; that is how you get those white sprouts you see in grocery stores. We usually don't set them in the sun like we do with the green sprouts but ours always end up with a few green leaves but, they taste just as good. For thicker crunchier bean spouts, place a weight on the sprouts to stress them a bit.
Rinse the seeds/sprouts until the water you are dumping out runs clear 2-3 times a day, each time inverting the jar to drain. Try to break up any clumps forming by swishing it around in the water. In just 3-5 days depending on the seeds used, you will have a wonderful jar full of nutritious, tasty sprouts.
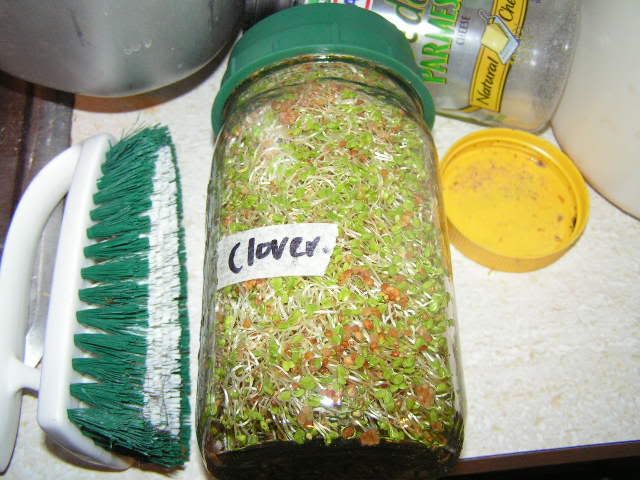
This is the results of 1 tablespoon of clover sprouts, 3 days of rinsing, and a couple hours of sunlight.
Dump the sprouts out in a large bowl of water and swish them around with your hand to break up the clumps. This shows the importance of the large mouth jar because it would be much more difficult to get the sprouts that have filled the jar out of a narrower opening.
Now for the worst part, dehulling. I am not sure why we need to dehull but it has always been suggested. One reason to dehull was that the seed hull holds a lot of moisture and shortens the shelf life. I do it because I don't think they look very appertizing and the chickens love them. Once the clumps have been broken most of the hulls will either float to the top or sink to the bottom. I use a slotted spoon to skim the hulls floating on the top. When scooping the sprouts out of the water, I am careful to not scrape the bottom of the bowl and disturb the hulls on the bottom. The good thing about alfalfa is that the hulls are so small that they flow right through my colander which makes it easy.
For storage, if I plan to use them soon, I place a paper towel in the bottom of a plastic container. Otherwise, I omit the towel. The paper towel helps draw the moisture away from the sprout to stop molding. If you plan to keep the sprouts more than a couple days, it is better to just rinse and drain them every day or so to keep them fresh. Obviously having a paper towel on the bottom when you try to rinse them would not be a good idea. You can even leave them in the sun for a couple hours to freshen them up if they start looking a little unappetizing.
This is an inexpensive and easy way to grow your own nutritious food all year long.
-Matthew