Sunday, June 28, 2009

Garden Pics

Photobucket
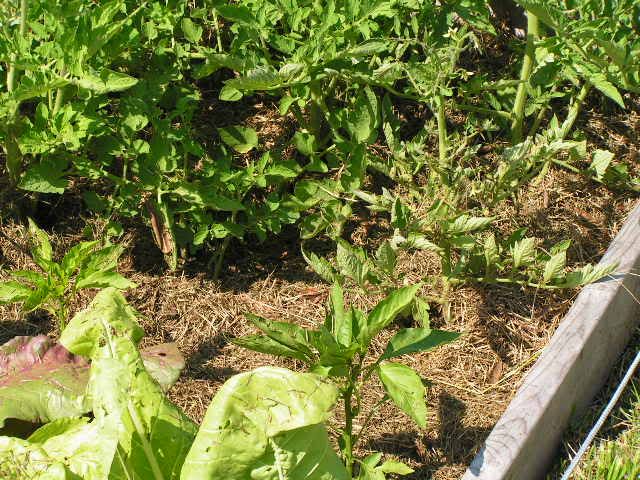
Matthew used grass clippings to mulch in the garden.

Photobucket
More mulching

Photobucket
This black bean is really thriving.

Photobucket
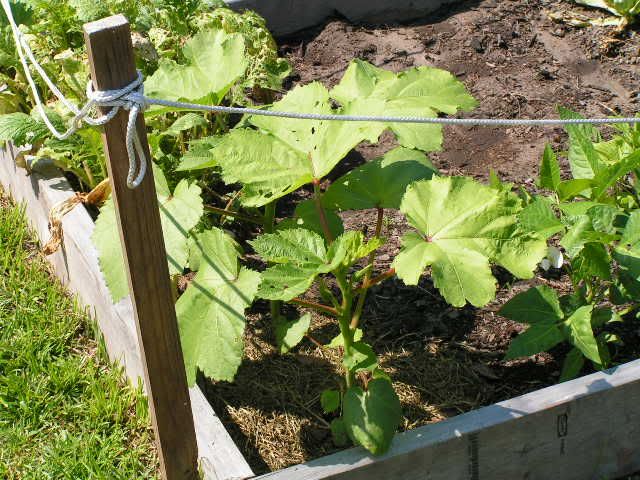
As is the okra.

Photobucket
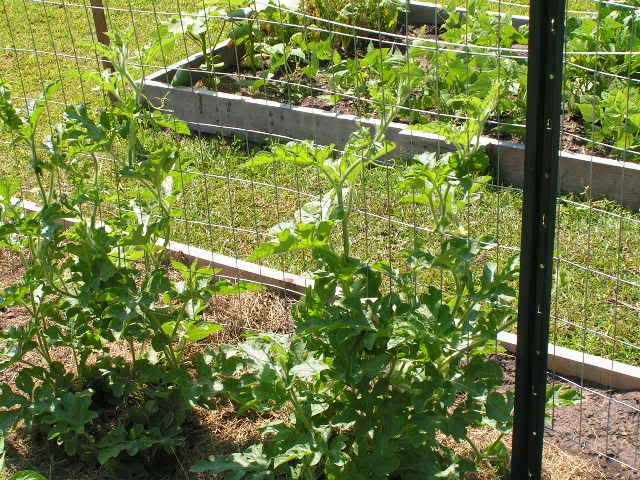
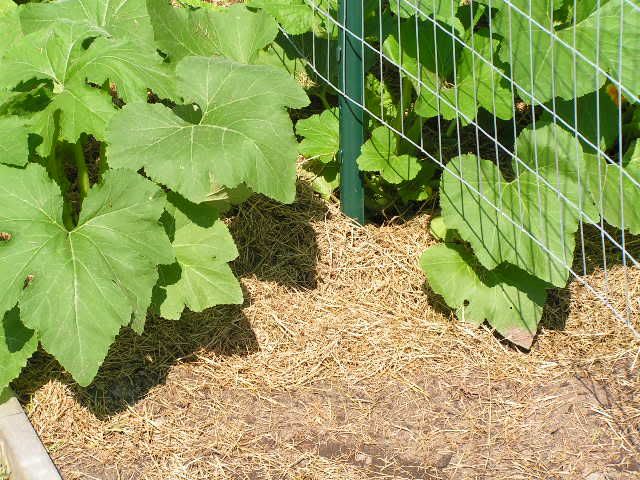
These watermelon vines are being trained on a trellis.

Photobucket
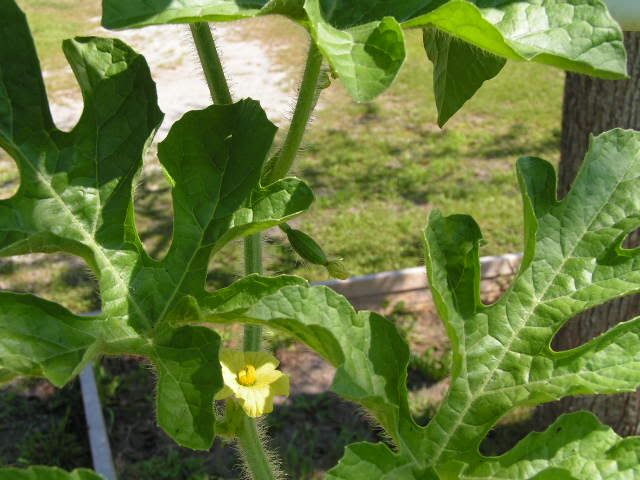
This watermelon is being grown in a pot hanging from our pear tree. You can see a bloom and the first melon starting.

Photobucket
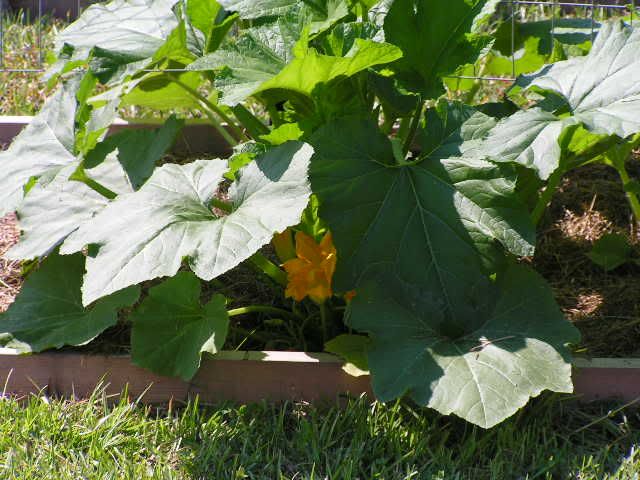
Squash blossom.

Photobucket
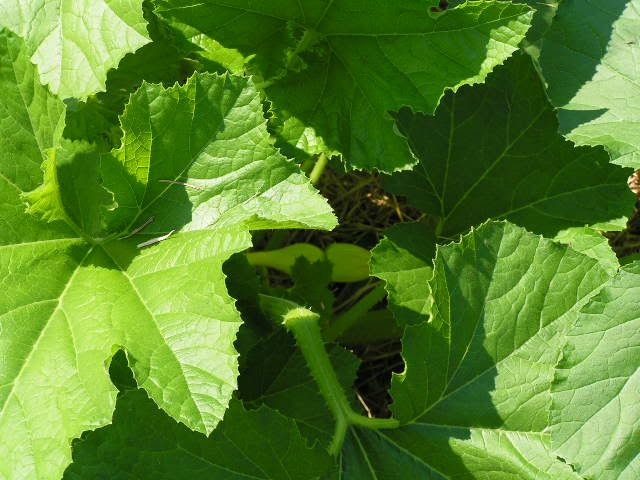
First squash is growing!

-Krystal

Homemade Vanilla Wafers

We have some ripe bananas to use up and I don't want banana bread. We decided that we'd make banana pudding but didn't have any Nilla Wafers. So, we decided to make our own.

I used this recipe.

Instead of dropping the dough onto cookie sheets, I rolled the dough into one-inch balls. I got 4 1/3 dozen cookies out of the dough by doing it this way.

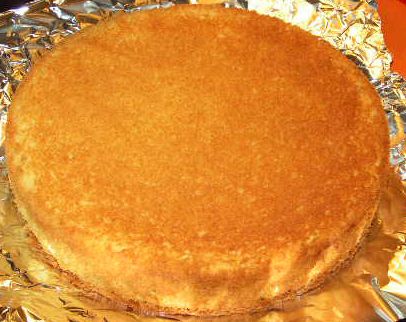
The cookies flattened out during the baking process and they look to be about the size of store-bought Nilla Wafers. I wanted mine to be a bit crunchier than the recipe poster had suggested so I cooked them for about 18 minutes until they were golden brown all over.


-Krystal

Wednesday, June 17, 2009

Garden and Chicken Pictures

Some recent pics of the chickens.

Our roosters, Beavis & Butthead.

The broody hen sitting on 11 green eggs and 3 brown eggs.

The chickens waiting for something to eat.

From all the rain we've had recently, the garden is growing really well.

Swiss Chard

Tomatoes

Carrots

Pak Choi

--Krystal

My Favorite Cake

A buttery yellow cake with rich chocolate icing has always been a favorite choice for my birthday. I recently found out that it was also my boss' favorite cake. When we were planning her at-work party, I volunteered to make the cake since I love to bake.

For the cake, I used Paula Deen's 1-2-3-4 cake recipe. The layers came out really even and beautiful.

Photobucket

To frost the cake, I used my grandmother's cooked frosting recipe.

Photobucket

Richmond Chocolate Frosting

Ingredients
1 cup granulated sugar
3 tbsp corn starch
1/2 cup cocoa
dash of salt
1 cup hot water
3 tbsp butter
1 tsp vanilla

Instructions
Mix all ingredients except butter and vanilla in a saucepan over medium heat. Cook the frosting until it is thick, stirring constantly. Once it is thick, remove from heat and add butter and vanilla. This yields enough to frost a double 9-inch layer cake.

--Krystal

Sunday, June 14, 2009

Citrus Soda Pound Cake

This is a take on my Taste of Summertime Pound Cake.


Citrus Soda Pound Cake

Ingredients
3 cups all-purpose flour, sifted
1/4 teaspoon salt
1 1/2 cup butter, softened
3 cups granulated sugar
5 large eggs
1 cup Mountain Dew, Mello Yello or Sun Drop (I used Diet Sun Drop for my cake)
1/2 teaspoon vanilla extract
1 1/2 teaspoon lemon extract

Instructions
Heat oven to 350 degrees F. Grease a 12-cup tube pan. Combine flour and salt in a bowl. With a mixer, cream butter and sugar at high speed until light and fluffy. Add eggs one at a time, mixing well after each addition. Reduce speed to low; add dry ingredients and soda, beginning and ending with dry ingredients. Add the vanilla and lemon extracts and mix until just combined. Spoon evenly into prepared pan and bake 1 1/2 hours or until wooden pick inserted in center comes out clean. Cool in pan 15 minutes. Invert onto wire rack, remove pan and cool completely.

I glazed my cake with a lemon glaze but you can leave it plain.

Lemon Glaze

1 cup confectioner's sugar
2 tbsp. lemon juice
1 tsp. vanilla extract

Mix all ingredients until smooth

Krystal

Lentil Soup

We've had some lentils and green split peas sitting in our cupboards for a couple months so, tonight, we had lentil soup, homemade corn bread and a salad (mostly from our garden) for dinner.


Lentil Soup

Ingredients
1/4 cup olive oil
4 carrots, diced
4 stalks celery, chopped
2 onions, chopped
4 cloves garlic, minced
4 tsp. Italian seasoning
2 bay leaves
1/2 tsp. mustard seeds
1 1b. dry lentils
1 lb. dry green split peas
1/4 cup balsamic vinegar
4 cubes beef bouillon
2 14.5 oz. cans diced tomatoes
16 cups water
2 cups fresh chard (you can substitute spinach)
salt and pepper to taste

Instructions
Heat olive oil in a pan. Add carrots, onion and celery and saute until tender. Add garlic, bay leaves, Italian seasoning and mustard seeds and cook for two minutes. Add lentils, peas, beef bouillon, vinegar, tomatoes and water. Season with salt and pepper to taste. Cook until peas and lentils are cooked through. Add the fresh chard and cook until greens are wilted and tender.

Krystal

Weekend Update

Just a quick update, Sundays are always hectic here because we find out just how much we didn't get done over the weekend that we should have.

The first 4 feet of the fence around the brooder pen is up. It has been raining so much recently that it is hard to get anything done outside. I have to run to Lowes to get the other 3 foot of fencing and to get some 1x3s and hinges for the gate. As it stands now I haven't cut the gate wire off the rest we are using for the pen and just have it bungee'd to the chicken yard as a temporary gate. I moved the 1 hen coop out to the brooder pen and moved the setting hen into it. She was none too happy when I grabbed her, but settled right down when I put her on the nest in the 1 hen coop.

We had saved 11 green eggs and 3 brown ones for her to incubate. My plan was to just move the eggs she had been setting on the last couple days in with the ones we had saved. I had a surprise when I finally got her out of the nest box, somehow she was setting on 8 eggs.

This past week is I had been checking the nest boxes frequently. When I noticed the broody hen was off the nest, I would grab the eggs. She would then set on whatever nest had the most eggs. On Friday and Saturday I had not been able to check on her very often, so I never caught her off the nest. Obviously other hens did, since she was setting in the most popular box, and quickly popped in there to deposit their eggs. Then, she would come back and find a few more eggs to keep warm. I had assumed she was only setting on 1 or 2 and was quite suprised to find 8 underneath her.

Now she is shut up in the little coop with no one to bother her; everything she needs is in that little 2ft x 2ft box. During the day, I will open the coop door to let her have access to the yard if she wants to stretch her legs but, I don't expect to see her out much.

In about 7 days we will candle the eggs and look for signs of life. Now I just have to find out how the build a candler.

Matthew

Friday, June 12, 2009

Broody Hen

A few weeks ago we had our first hen start to set. We were not prepared for it and the opportunity passed before I figured out the best way to separate her from the rest of the flock. I had plans to make a small coop and add a small pen on the end of the chicken run as a place to keep broody hens. I could also use it to isolate hens for various reasons, as additional justification for the incurred cost of new fencing and coop.

Of course, once she stopped setting, the whole project got pushed to the back burner until earlier this week when I started to notice one of the nest boxes in the coop always had a Barred Rock hen in it. Unfortunately with 14 BR hens, it is hard to tell them apart so I just had to keep checking the nest boxes at odd hours to see if there was still a hen on the nest. After a couple days of one nest box always being occupied I felt sure we had a hen that wanted to hatch. On Wednesday I started working on a one-chicken-sized coop for the brooder pen.

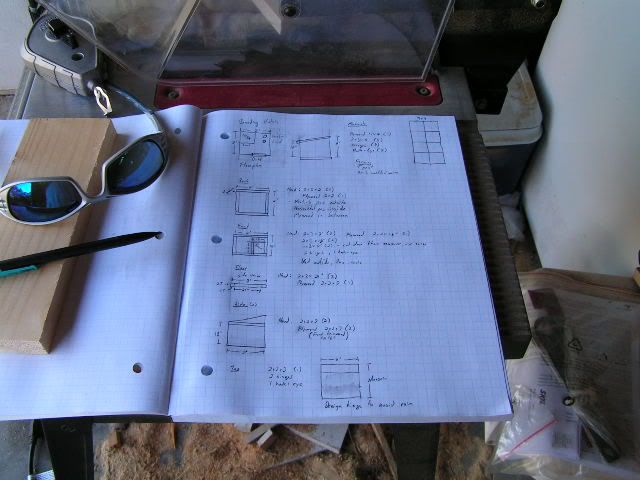
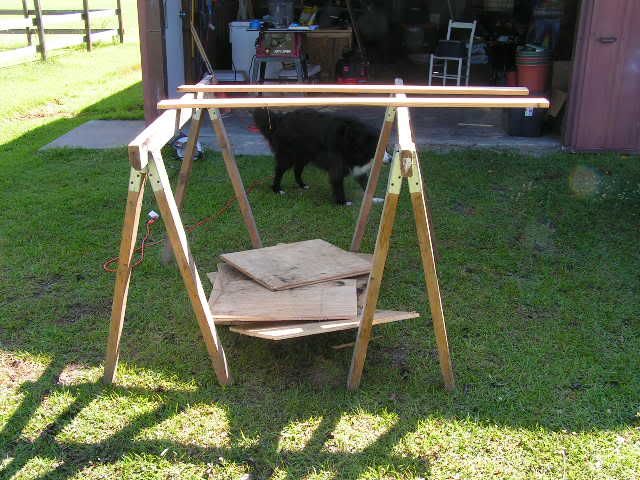
What started out as
Photobucket


Photobucket


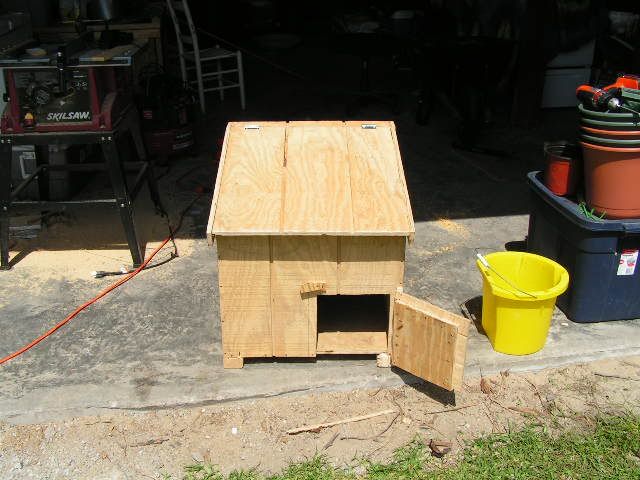
ended up as

Photobucket


Photobucket


The plans I had made used 1/4 inch plywood siding supported by 2x3s but we had a sheet of 1/2 inch plywood siding left by previous occupants of the house. The good news is that it was thick enough to not require extra support so I could save my 2x3s for another project and was free. The bad news was that the sheet was only 45 inches wide, not 48, so it required a couple of adjustments on the fly. That's the fun of woodworking.

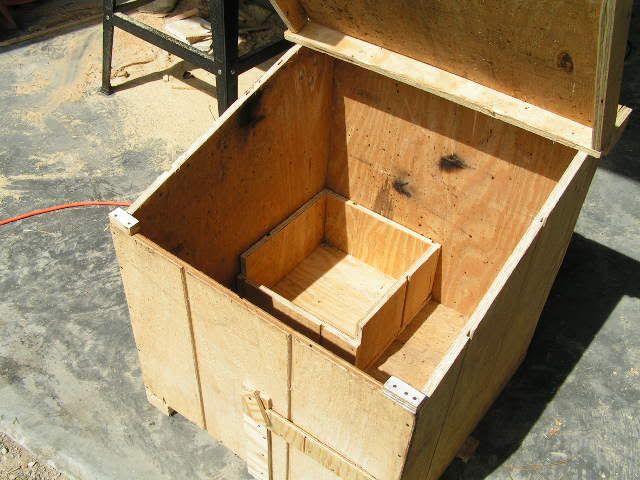
The dimensions of the coop are roughly 22 inches long and wide, and 24 inches high in the back, 18 inches in the front. That leaves just enough room for an open nest box and a feeder. I will the chicken's water out side the coop to keep things dry. Below is a picture of the coop in progress.

I hinged the roof just under 3 inches from the back edge and will use shingle scraps to cover it over the gap to stop leaks. In retrospect it would have been better to just hinge at the back and just pick up the whole roof for access to the coop. That would solve the problem of having a gap in the roof. I still plan to build a chicken tractor and will use what I learned in this project to design the tractor.


The next step is to put up the fencing for the small seclusion pen. I will post more pics once everything is complete. So far I have saved 9 easter-egger eggs, and 3 BR eggs. I don't plan to collect any more, I will let her set on those plus whatever she currently has under her in the main coop. I expect that she is only setting on a couple eggs.

From what we have read, the blue egg gene is dominant so any green eggs we can get to hatch as hens should lay green eggs. I am interested to see how the barred rock genes present themselves in the new chicks. The easter-eggers are already a mutt breed, so there is really no telling what the offspring will look like. I hope at least the rooster are a little larger than our current green egg layers since they are noticeable smaller than most of the barred rock hens.

Letting the hen set is really just a learning experience, it is something we haven't done before. There is always something new happening on our little mini-farm.
Thursday, June 11, 2009

So it has been some time...

since my last post, and a lot has happened. I will try to update more regularly since we are actually doing some 'homesteady' things now.

Last June we both lost our jobs within a week of each other. We saw that as an opportunity to move from the Raleigh area to where Krystal grew up (and I mean the exact house she grew up in). It didn't take her long to find a job, but I am having no such luck, I have been unemployed for about a year now. The bad news is that our income has been greatly reduced, the good news is that I have time to get a lot of things done around our new mini-farm.
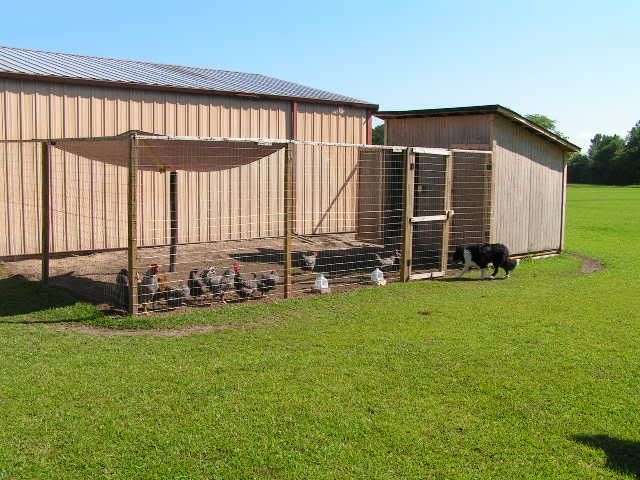
Speaking of the mini-farm, we currently have:

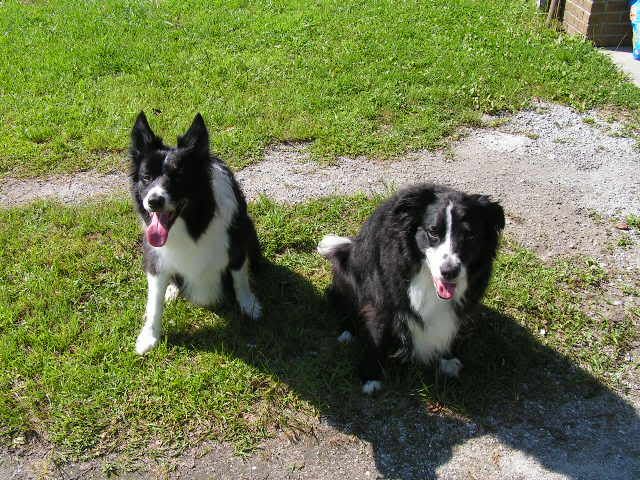
Two crazy border-collies. I imagine I talk about them so much I might as well add in a pic when I can. I also would guess they will turn up in most pics of any outside endeavours; they usually aren't very far away from us when we are working outside. Brogan is on the left and Angus is on the right.


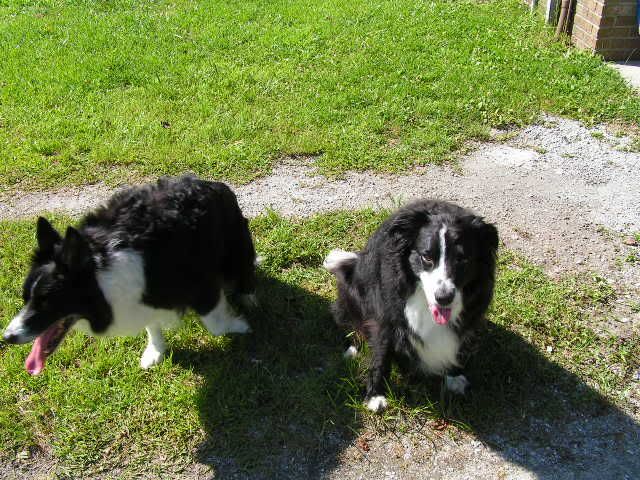
This picture was taken a couple seconds later. Already Brogan has decided he has been still long enough and must go back to herding the chicken pen.

A chicken coop and run with 17 hens, and 2 roosters. The bare spots surrounding the pen is the path Brogan has worn into the ground.


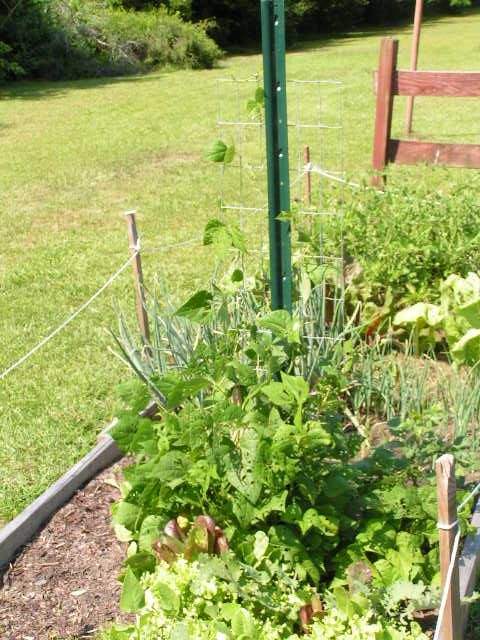
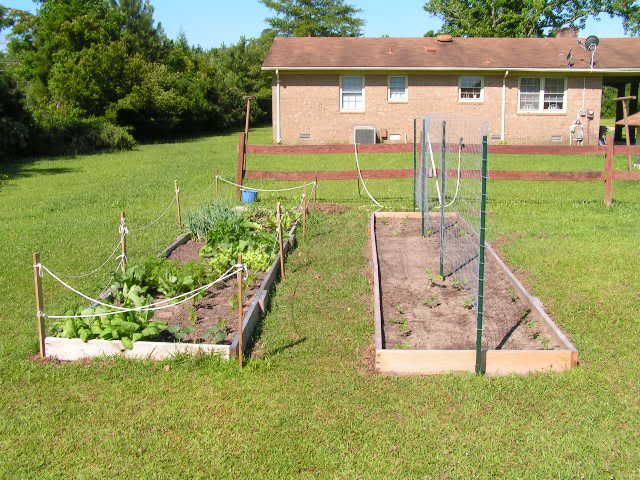
A small garden consisting of two beds, each measuring 4ft by 20ft. We have harvested a couple things, mostly greens and radishes for salads.

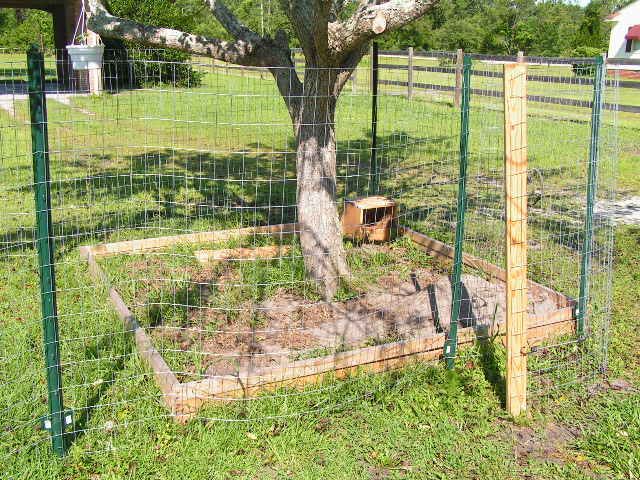
We are also adding a bed around the pear tree, mostly for strawberries. Krystal really wants some and we had a nice patch of wild strawberries already growing underneath the pear tree so I thought that would be a good place to put them. It also saves me from having to cut the grass around the tree.

Photobucket

The limb pictured below is out to get me, it is the exact height when sitting on my mower as to be out of my range of vision when looking at the ground to make sure I don't hit the tree with the mowing deck but low enough to slam the top of my head if I don't duck. Very shortly after making this discovery, I was seeing stars and had to bring the mower to a stop until the world stopped spinning. So not having to cut around the tree seemed like a good idea to me.

Photobucket

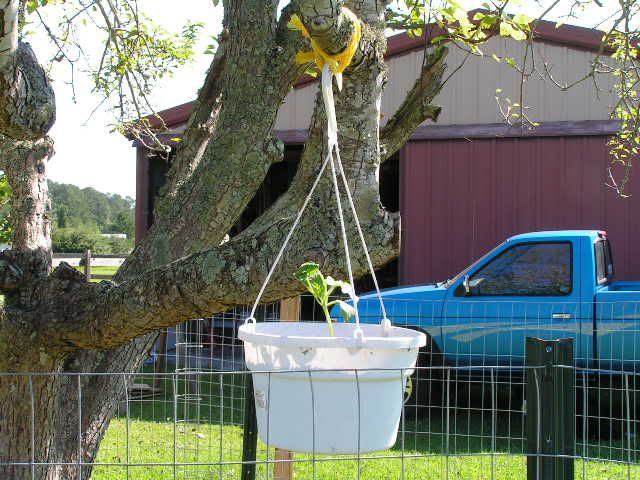
The plant in the picture above is a baby watermelon. I wanted to try growing vine plants in hanging baskets. If I ever get around to planting the cucumbers , zucchini, and eggplant I will most likely plant some of each in hanging baskets to keep the watermelon company, in addition to what I plant in the actual garden.

Now for a bit more detail.

On Halloween last year, we got our first chickens. We ordered 20 Barred Rock chicks straight run, and 5 Easter-egger pullets from Whelp hatchery. I had wanted fewer Barred Rocks in lieu of some Cornish Rock broilers, but was told the broilers ship from another facility and, as such, I could increase my order to 25 broilers and 25 other chicks, or they could keep my current order and add in 'packing peanut chicks'.(Most hatcheries have a box they ship chicks in that holds about 25 peepers. If you order less than 25, they add in extra chicks they have a surplus of so that the body heat from the chicks keep them warm enough during shipment). Either way, I would be getting 50 chicks instead of 25 and I just didn't have room for that many, so the order was changed to the above selection.

I don't want to give the impression that I was unhappy with the turn of events, far from it. The customer service person at Whelp was very helpful and the whole transaction was purely positive. They actually ended up shipping 26 Barred Rocks and 5 Easter-eggers. One little BR didn't make it, one had spraddle leg which we were able to correct, and the other 29 were amazingly healthy. I have had no problem at all raising the chicks, all survived and thrived except for the one noted before. It has been a surprisingly easy and rewarding experience so far.

We currently have 14 Barred Rock hens, 2 Barred Rock roosters, and 3 Easter-egger hens. I have pics of the peepers when they arrived that I plan to use in another update post to cover what we have already done. The posts about what we have done will be good for days when I am not currently 'doing' anything interesting. We are getting a lot more eggs than we can use, but so far I haven't had any luck selling them. I posted on Craigslist and a local site, though I admit I could have done a much better job selling them on the posts than I did. I still need to do a sign for the front yard, but as with any kind of homestead, the list of to-dos far exceeds the amount of time I have to do them.

As for the garden, this is my second try at a decent garden. Tried it once in Clayton but, with us working such long days, I really didn't have the drive or energy to do a good job of it. As I said before, we now have two beds, mostly of greens. We only have the two small beds because I made them by hand with shovel and hoe, and well established centipede sod is a bear to break up. The root system easily reaches 8 inches down and creates a thick mat both above and below ground.

For the first bed I used a shovel to just turn chunks of sod upside down, assuming that a shovel deep clump of dirt would smother the grass. I was wrong, the stuff still grew upside down. The next bed I just cut up with a hoe, breaking 3 hoes in the process and giving me some nice blisters and sore shoulders. Then I let the smaller chunks of sod dry for a day or two. After that came the exhausting part of picking each dried sod chunk up and shaking out the dirt, leaving a mass of dead grass and roots, which were then given to the chickens.

Krystal's grandmother has a small garden which had a number of tomato plants eaten by deer one night. That tells me I need to fence in my garden to keep the deer out, not to mention dogs and chickens. Once I fence in what I plan to be the garden area, I may just rent a tiller and not bother with the raised beds. The ground is fertile enough, though I need to mix some compost when I till it.

The advantages to not doing raised beds are that I don't have to spend the money on boards for the bed and I can more easily keep grass out of the garden since I can plow the walkways. It will also give me more flexibility as to how I plant stuff. With the raised beds, I have no choice but to work with 4 foot blocks. With just a plowed area for a garden, I can just plant a single row of something if I think that is the best way to do it, which would most likely be the case for tomatoes and other large plants. I am re-reading The Vegetable Gardener's Bible by Edward Smith before I make my final decision regarding raised beds since he is a strong believer in them.

Once the garden is fenced in, I then plan to fence in the majority of the back yard, leaving at least a 3 foot gap between that fence and the garden one so that the chickens have access to the full perimeter of the garden. That will greatly cut down on the number of bugs in my garden. We had a heavy infestation of junebugs for a couple days. I say only a couple days because I let a few chickens out in the evenings while I was outside working and they were very vigilant about running all across the yard chasing the bugs on wing. The junebugs didn't have a chance, and I got tons of chuckles from watching it.

I am also reading Storey's Guide to Raising Ducks. Those will most likely be the next animals added to our place. The plan is to raise the ducks for roasters and use the chickens as fryers. So if anyone has any beginner advice on raising ducks, just let me know.

Now off to work on a small pen on the end of the chicken run to place a broody hen.

Matthew